
Best Tips for Filling Raised Beds the Right Way

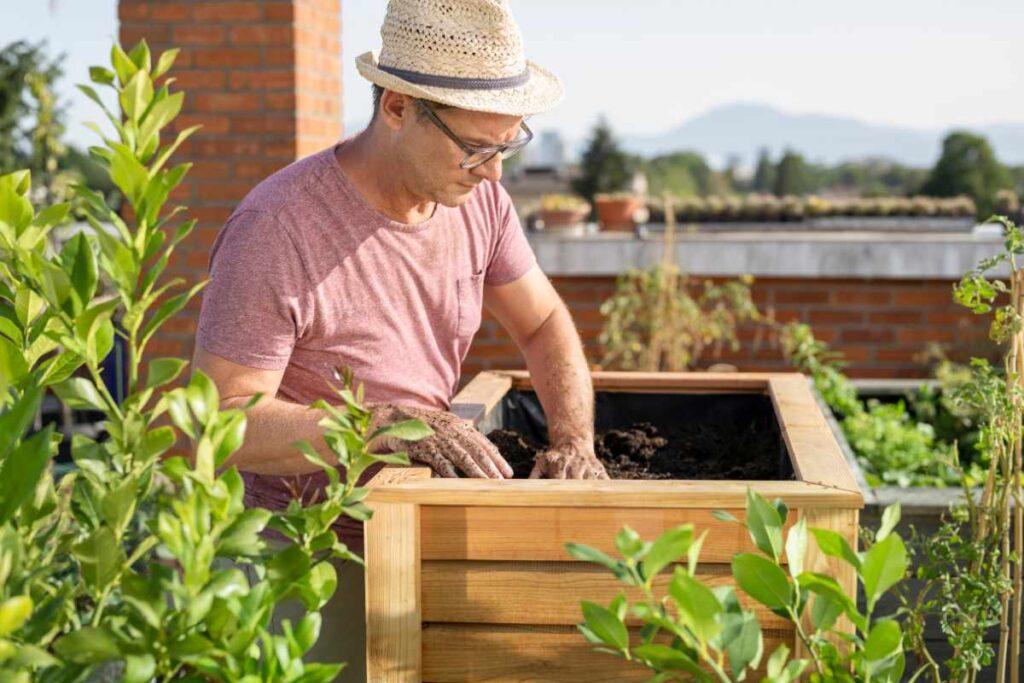
Establishing and filling raised beds stands as a pivotal milestone, laying the foundation for a flourishing and rewarding gardening endeavor.
The meticulous process of constructing and properly filling these beds sets the stage for an environment where plants can thrive, yielding a bountiful harvest.
In this comprehensive guide, we will explore a myriad of innovative and practical tips, guiding you through the intricacies of how to meticulously fill raised beds.
By understanding the nuances of this crucial step, you are not only ensuring optimal plant growth but also fostering the conditions for a sustainable and productive gardening experience.
1. Prepare the Base:
When selecting a location for your raised bed, opt for a sunny spot with excellent drainage, steering clear of low-lying areas and wind-prone spaces.
Ensure a clean slate by removing any existing vegetation or debris from the chosen area where you plan to construct your raised bed.
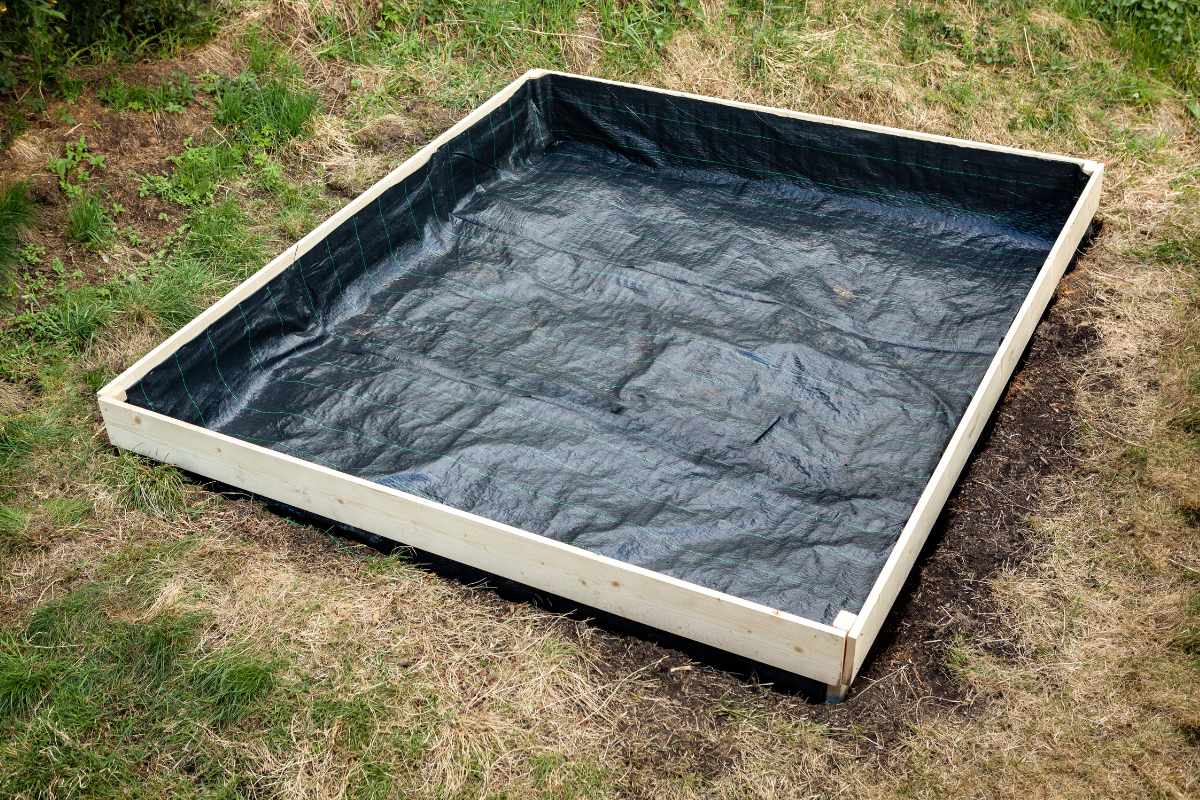
For those concerned about weed proliferation, an optional step includes lining the bottom of your raised bed with landscaping fabric to inhibit unwanted growth.
This trifecta of considerations lays the groundwork for an optimal environment, ensuring that your raised bed is strategically positioned, free from debris, and equipped to combat potential weed challenges.
2. Build the Frame:
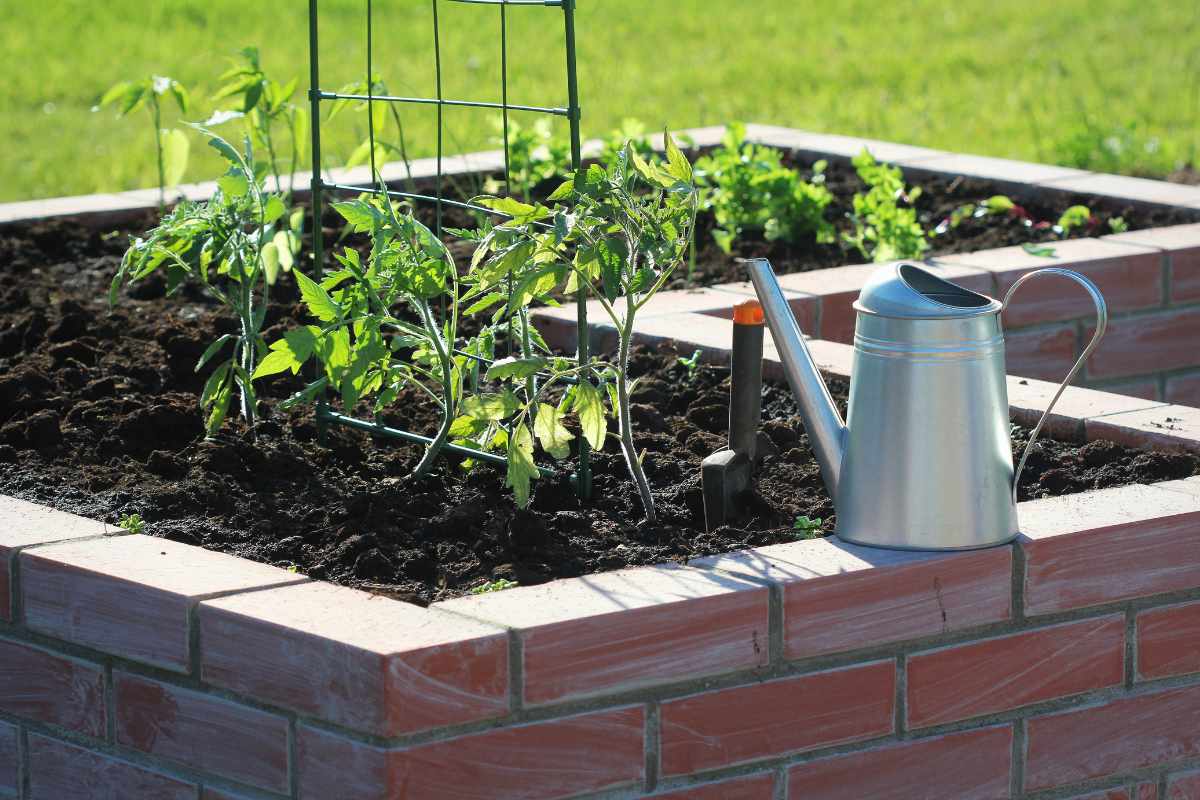
It's crucial to select weather-resistant materials such as wood, bricks, stones, or other sturdy options.
Additionally, it's essential to ensure that the chosen material doesn't leach harmful chemicals into the soil, promoting a healthy growing environment.
The dimensions of your raised bed should be carefully determined based on the specific plants you intend to cultivate. For most vegetables, a soil depth of 12 to 18 inches is ideal, while trees and shrubs may require more substantial depths.
When deciding on the width, prioritize choosing dimensions that allow for convenient access from both sides of the bed.
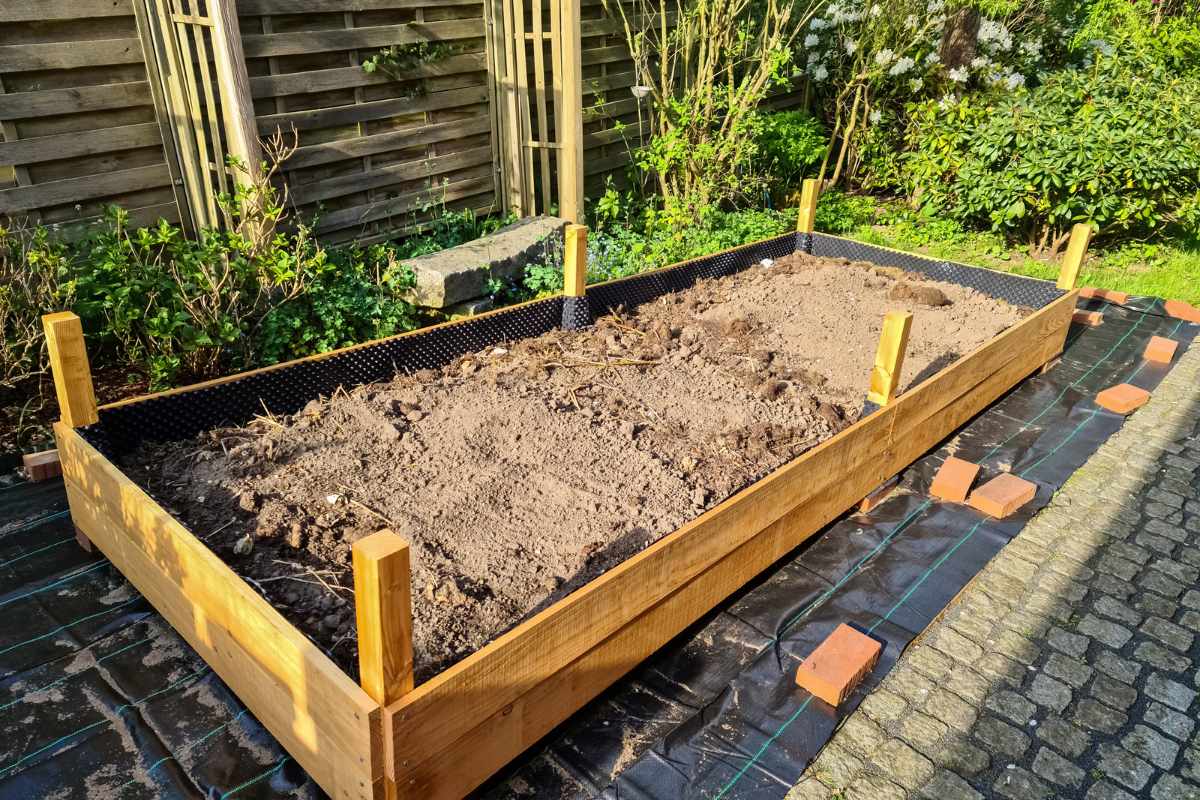
During the assembly process, diligently construct the frame according to your chosen design, making certain that it is level and stable.
3. Add Drainage:
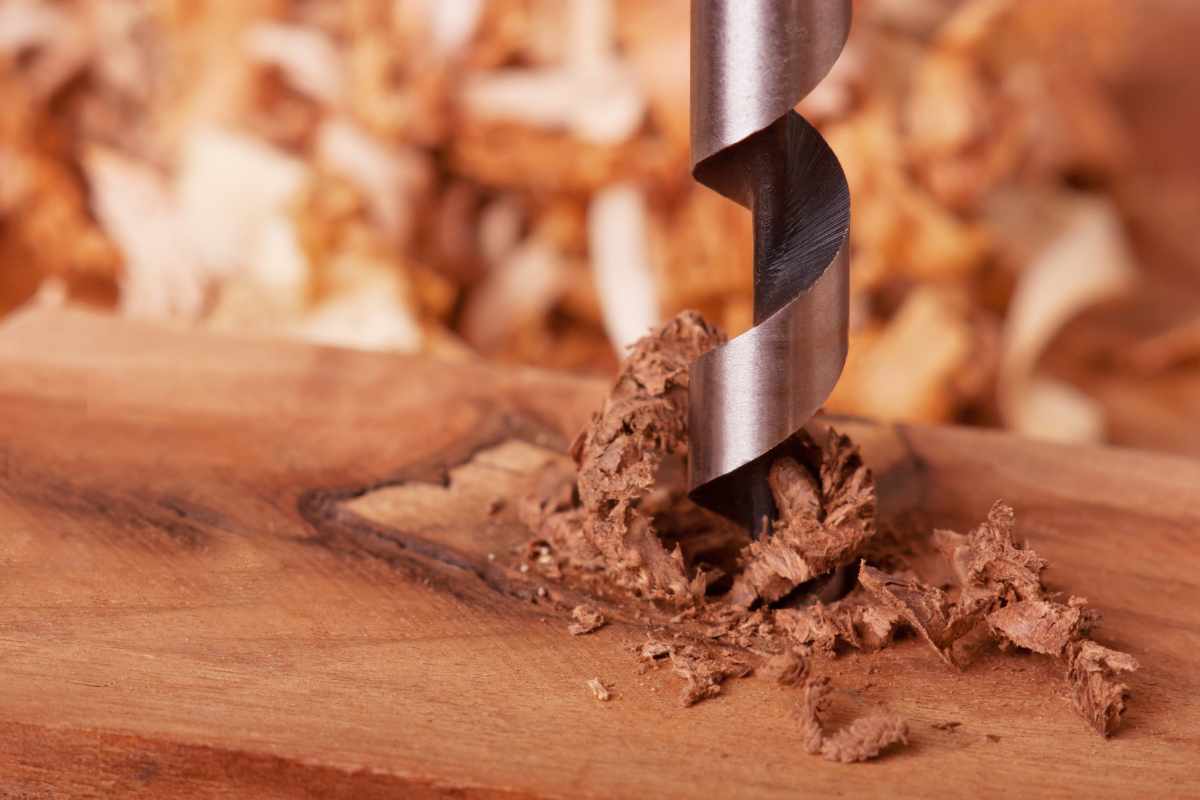
To ensure effective drainage in your raised bed, it's imperative to drill or create drainage holes at the bottom or employ naturally well-draining materials like gravel.
This step is crucial in preventing waterlogging, which can adversely affect the health of plant roots by impeding proper oxygen supply.
Additionally, for deeper beds, you may opt for an optional drainage layer by adding a stratum of gravel or repurposed broken pots at the base.
This extra layer enhances the drainage capacity, providing an additional safeguard against water accumulation.
4. Fill the Bed:
Fill your raised bed with a mix of different materials to create a healthy and fertile growing medium.
- Base Layer: Add a layer of coarse material like branches, twigs, or wood chips to fill the lower half of the bed. This aids in drainage and aeration.
- Middle Layer: Fill the next layer with compost or aged manure to introduce organic matter and nutrients to the soil.
- Top Layer: Complete the top layer with a potting mix or high-quality soil. This should be the finest layer and where your plants will thrive.
5. Water and Mulch:
Once you've filled your raised bed, it's essential to thoroughly water it to settle the soil and establish a conducive environment for plant growth.
This ensures that the soil is adequately hydrated and provides a solid foundation for your plants.
Following the watering, apply a layer of mulch around the base of your plants. Mulching serves multiple purposes, including retaining moisture, suppressing weeds, and regulating soil temperature.
This protective layer not only helps in water conservation but also creates an optimal microclimate for your plants, promoting their overall health.
Tips:
- Soil Testing: Before planting, test your soil pH to ensure it falls within the ideal range (most vegetables prefer a pH between 6.0 and 7.0).
- Soil Amendment: If the soil test indicates an incorrect pH, use lime to raise it or sulfur to lower it.
- Crop Rotation: Plant different types of crops in your raised bed each year to prevent nutrient depletion and diseases.
By following these steps, you can create a healthy and productive raised bed that will provide years of gardening enjoyment.
Did you find this post Useful or Inspiring? Save THIS PIN to your GARDENING Board on Pinterest!

Once again, thank you for visiting our website!
We hope you've enjoyed exploring the content we've created for you.
Give yourself the chance to learn, get inspired, and have even more fun, keep browsing...
More Gardening Tips 👇🏼👇🏼