
How to Grow Ginger in Containers And Get a Huge Harvest


Growing ginger at home is especially satisfying, even more so when you see your harvest thriving in the comfort of your own space.
Not only is it a fun and satisfying plant to grow, but it also offers a wide array of benefits, such as fresh, organic ginger right at your fingertips.
Plus, cultivating ginger in containers makes it easy to manage, even if you're limited on space.
Here’s everything you need to know to successfully grow ginger in containers and enjoy a bountiful harvest.
Selecting the Right Ginger Rhizome
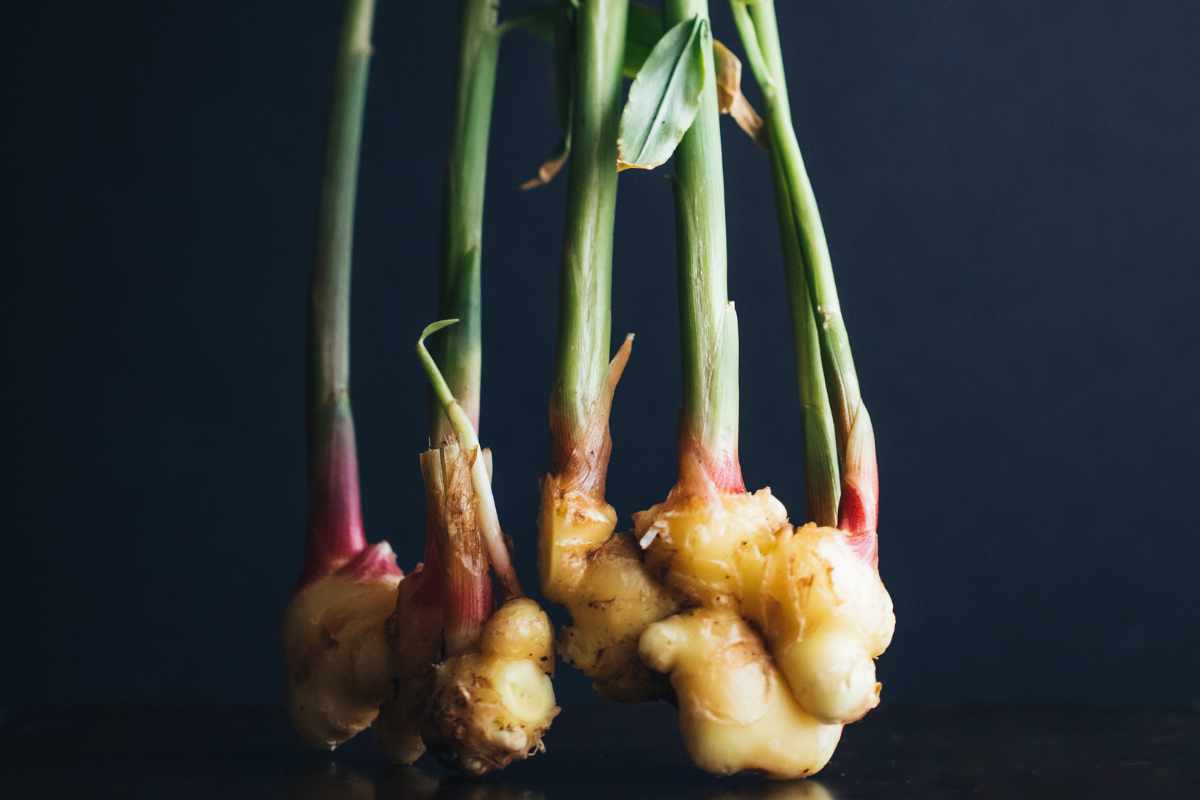
The first step in growing ginger is selecting the right rhizomes. Look for fresh, plump rhizomes that are free of soft spots or blemishes.
Ideally, choose a rhizome with visible "eyes" or buds—these are the growth points from which your ginger plant will sprout.
Organic ginger is the best choice since it is free of chemicals, ensuring a healthier plant.
Tip: Buy ginger rhizomes from a local nursery, garden center, or even online. Organic ginger from grocery stores can also work, but it’s important to note that some store-bought varieties may be treated with growth inhibitors, which could prevent them from sprouting.

Preparing the Soil and Container
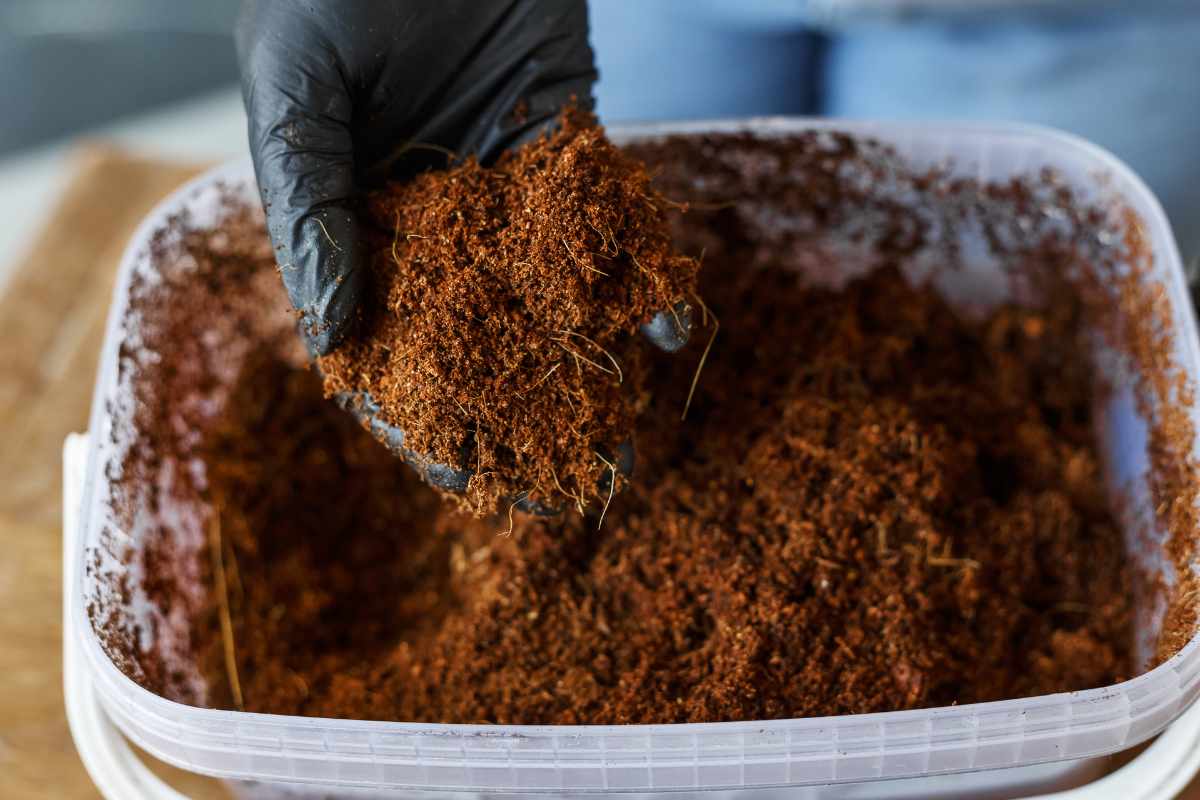
Ginger thrives in loose, well-draining soil with a slightly acidic to neutral pH. For the best results, use a mixture of potting soil and compost to ensure the right balance of nutrients and drainage.
Avoid heavy garden soil, as it can become compacted and hinder growth.
As for the container, choose one that is large enough to allow your ginger rhizomes room to spread.
A container that is at least 12–14 inches deep is ideal. Make sure it has drainage holes to prevent water from pooling at the bottom and causing root rot.
Tip: Choose a wide container over a tall one, as ginger roots grow horizontally. A larger surface area will give your plant more space to expand.

Planting Your Ginger Rhizome
Once your container and soil are ready, it's time to plant your ginger.
Cut the rhizome into 2–3 inch sections, making sure each piece has at least one "eye" or bud. Allow the cut pieces to dry out for 24–48 hours before planting to reduce the risk of rot.
Plant each piece about 2–3 inches deep, with the buds facing upwards.
Space the pieces a few inches apart to give them room to grow. Ginger prefers warm, humid environments, so make sure your planting area maintains a temperature between 70–85°F (21–29°C).
Caring for Your Ginger Plant
Ginger plants thrive in partial to full sunlight, but they don’t tolerate direct, harsh sunlight.
Choose a bright spot that receives indirect light for most of the day, such as a windowsill with filtered sunlight.
Watering: Ginger plants like to stay moist but not waterlogged. Water regularly, keeping the soil evenly moist. However, be cautious of overwatering, as this can lead to root rot. Always ensure the container has good drainage.
Humidity: Ginger loves humidity. If you live in a dry climate, consider placing your container on a tray with pebbles and water, or use a humidifier to maintain moisture in the air.
Temperature: Keep your ginger plant in a warm area, ideally between 70–85°F (21–29°C). Ginger doesn’t tolerate cold, so if temperatures drop, bring the plant inside.
Fertilizing Your Ginger Plant
To encourage strong growth, feed your ginger plant every 4–6 weeks with a balanced, organic fertilizer.
A slow-release granular fertilizer or a liquid fertilizer diluted to half strength works well. Avoid over-fertilizing, as this can lead to excessive leaf growth at the expense of the rhizomes.
Tip: Use a natural, well-balanced fertilizer with nitrogen, phosphorus, and potassium to encourage healthy root and rhizome development.
Troubleshooting Common Issues
While ginger is relatively easy to grow, a few common issues may arise:
Yellowing Leaves: This can be a sign of overwatering, poor drainage, or a lack of nutrients. Check that the soil drains well and adjust your watering schedule.
Slow Growth: If your ginger isn’t growing as fast as expected, it might need more warmth or sunlight. Ensure it's receiving indirect light and remains in a warm, humid environment.
Pests: Although ginger is relatively pest-resistant, aphids or spider mites can sometimes appear. If you spot pests, gently wipe the leaves with a damp cloth or use insecticidal soap to remove them.
Harvesting Your Ginger
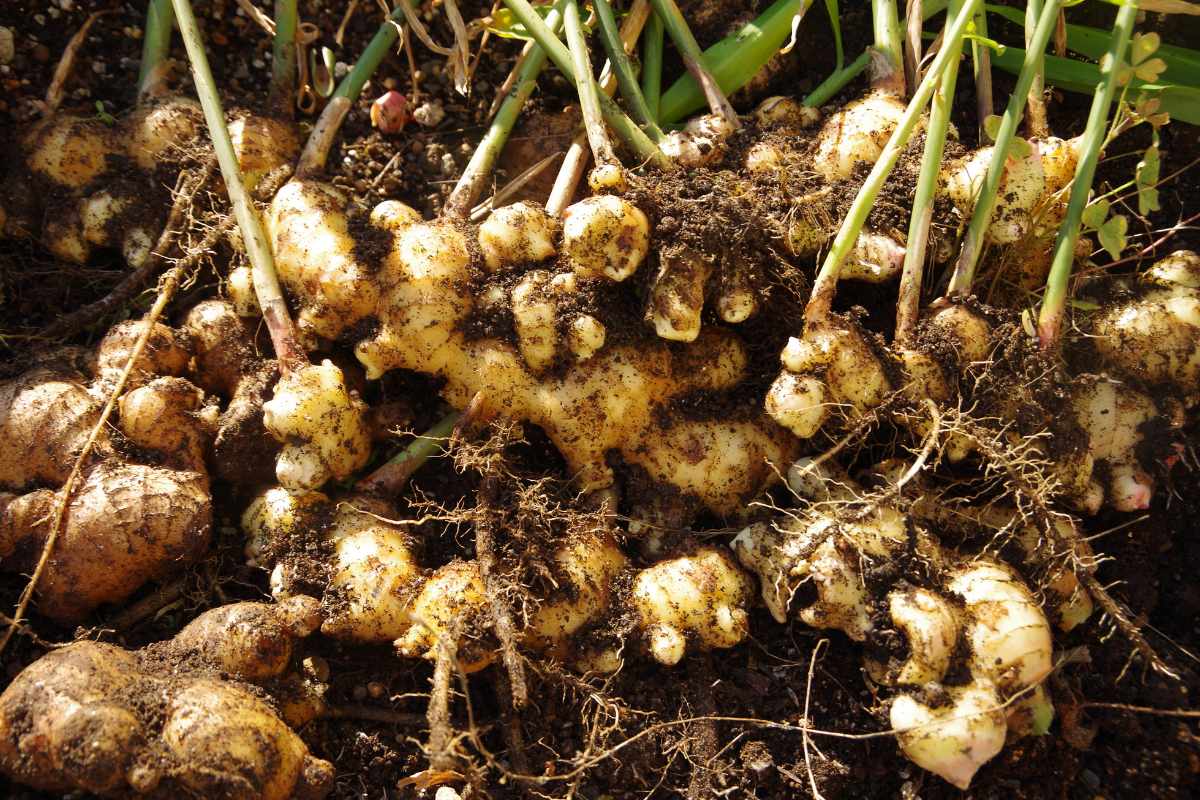
Ginger is ready for harvest when the leaves start to yellow and die back, usually around 8–10 months after planting.
Carefully dig up the rhizomes, making sure not to damage them.
You can harvest small amounts at a time by gently pulling up the outer rhizomes while leaving the inner ones to continue growing.
Tip: If you want to leave some ginger in the soil for future growth, simply cut off the rhizomes you need and replant the rest. This will allow you to harvest fresh ginger regularly.

Start Growing Your Own Ginger Today
Growing ginger in containers is a fun and rewarding project that can yield a huge harvest with the right care.
By selecting healthy rhizomes, using well-draining soil, providing the right growing conditions, and staying on top of watering and fertilizing, you can enjoy fresh, homegrown ginger all year long.
Start your ginger-growing journey today and experience the joy of harvesting your very own organic ginger!
Enjoy This Video Tutorial
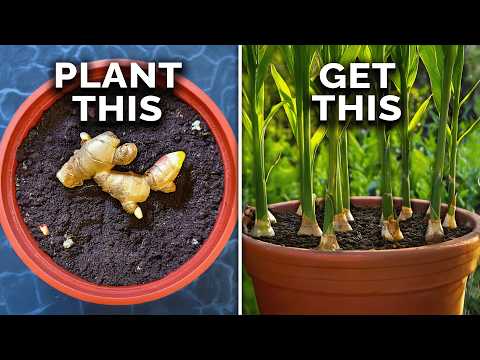
source: Epic Gardening
Did you find this post Useful or Inspiring? Save THIS PIN to your GARDENING Board on Pinterest! 😊

More Gardening Tips 👇🏼👇🏼