
How to Grow Morel Mushrooms


Few edibles inspire as much obsession as morel mushrooms.
Their honeycomb caps, deep savory aroma, and short spring season make them a culinary prize—and a cultivation challenge.
If you’ve heard “just toss a spore slurry and wait,” here’s a more honest picture: Morels can be grown at home, but success is inconsistent and timing is slow.
This guide focuses on what currently works best for hobbyists—the outdoor bed method with Morchella importuna—and sets expectations so you invest your time wisely.
Before we begin, two ground rules. First, safety: learn the differences between true morels and their look-alikes and always cook morels thoroughly.
Second, expectations: outdoor beds reproduce only part of the ecological story that morels prefer, so yields vary.

Understanding How Morels Grow (In Plain Language)
Morels don’t behave like oyster or shiitake mushrooms that happily colonize a log and fruit on cue. Morel mycelium can form dense nutrient reserves called sclerotia—think of them as tiny survival pantries.
When spring arrives with the right cues—cool soil, moisture, a swing between chilly nights and mild days—the fungus may spend some of those reserves to produce mushrooms.
In commercial settings (especially with Morchella importuna, sometimes called the “landscape morel”), growers often supplement beds with buried “nutrient packs” that mimic naturally rich pockets of food.
In a home garden, we approximate this with a wood-rich substrate, steady moisture, and shaded, cool conditions.
The life cycle is slow; a bed established this year may not fruit until the following spring—or the one after that. That’s normal.
The Site That Works: Shade, Moisture, and Wood-Rich Soil
A microclimate that mimics a spring forest
To keep mycelium comfortable, think “dappled understory.” Choose a spot with partial shade from trees, a north or east exposure, or add shade cloth in the 30–50% range.
Underfoot, aim for a blend that favors hardwood chips, leaf mold, and a small amount of well-finished compost for structure.
You want the feel of a moist, wrung-out sponge—never a soggy bog. Good drainage matters as much as moisture; pooling water suffocates mycelium.
A soaker hose or fine-mist wand is your friend for gentle watering that doesn’t collapse the bed. If your springs are windy, a low windbreak—such as a short fence or shrub line—helps retain humidity around the surface.
In dry spells, brief morning and evening mistings stabilize the microclimate without waterlogging the chips.
Temperature (your most important “switch”)
Morels respond to cool, humid spring conditions. As a rough guide, many hobby growers report activity when daytime soil temps live around 10–16 °C, with crisp nights just above freezing.
Don’t fixate on a single number; consistency is the secret. Shade, mulch depth, and watering patterns all help temper sudden heat spikes that can shut down the development of primordia.
If a hot week arrives, add temporary shade and keep the bed lightly moist to buffer swings.
Two Ways to Try (and What to Expect)
Outdoor Bed with M. importuna
This is the most realistic path for a garden harvest. Start with clean hardwood chips (mixed particle sizes help), leaf mold, and a modest amount of compost for structure.
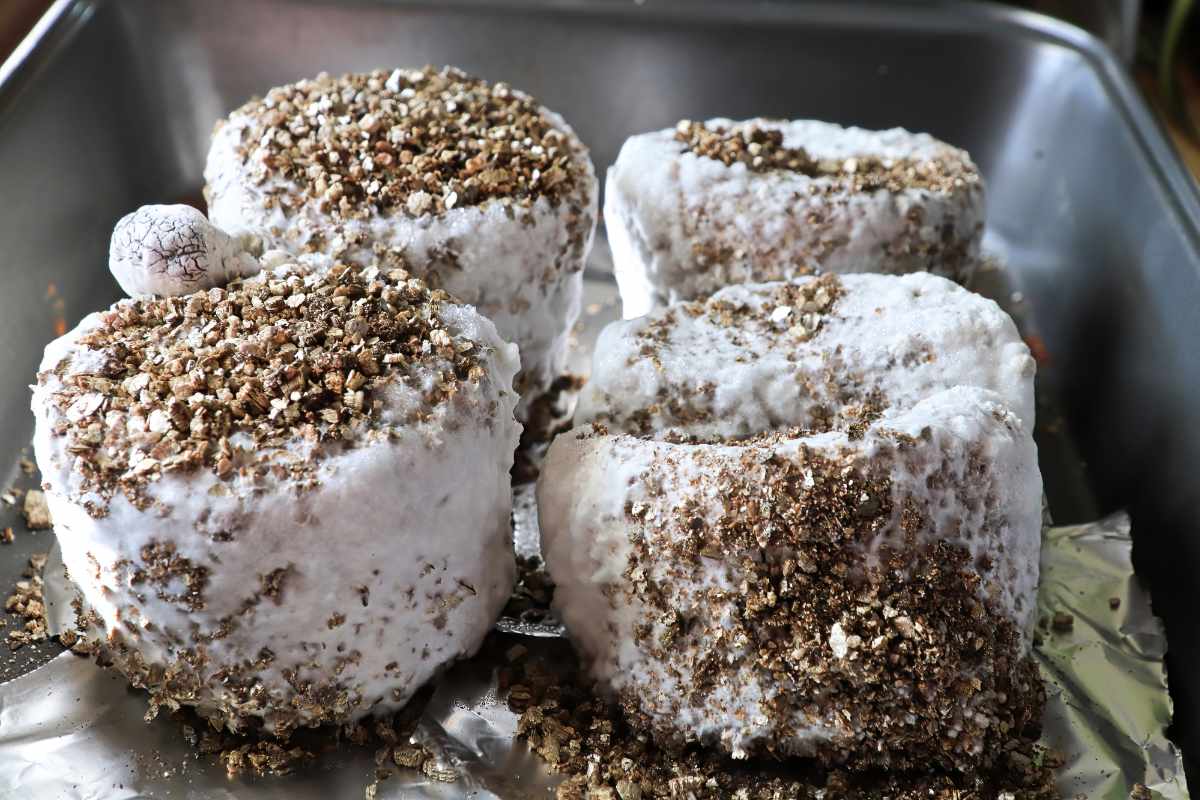
Work in your chosen spawn of Morchella importuna and, if you have it, tuck a few small “nutrient pockets” beneath the surface layer—sterilized grain or enriched substrate wrapped in breathable material and buried in scattered spots.
These pockets act like bonus pantries for the fungus during the months ahead.
Build the bed with a finished depth of 8–12 cm, top it with a thin layer of finer chips and leaf litter, and water until evenly moist. Many gardeners inoculate in late summer to early autumn so the mycelium knits through the bed while temperatures are friendly.
Through fall and winter, keep the bed barely damp, never saturated. In the first spring, you might see nothing—or a surprise flush after a cool rain.
Be patient; the second spring is often the first realistic target for fruiting.
A note on soil chemistry: over several seasons, repeated fruiting attempts can draw down certain nutrients.
Where it’s safe and appropriate for your garden, a dusting of clean, wood-ash-derived potassium in late winter can help rebalance a bed that’s been pushed hard.
Keep it light; extremes are counterproductive.
Spore Slurry: when it’s worth a try
A slurry disperses spores into a hospitable bed. It’s easy and cheap, but set your expectations: germination and mating steps are biologically finicky, so results are highly variable.
If you experiment, think of slurry as a long-shot “seeding” method best paired with a well-built bed and good microclimate. Spread the effort across several small patches rather than betting everything on one spot.
For many hobbyists, slurry is a side experiment—not the main plan.
Varieties You’ll See Mentioned (Without the Taxonomy Headache)
Old field guides and blog posts sometimes use names like “Morchella deliciosa” or talk about “late morels” as if they were a single thing.
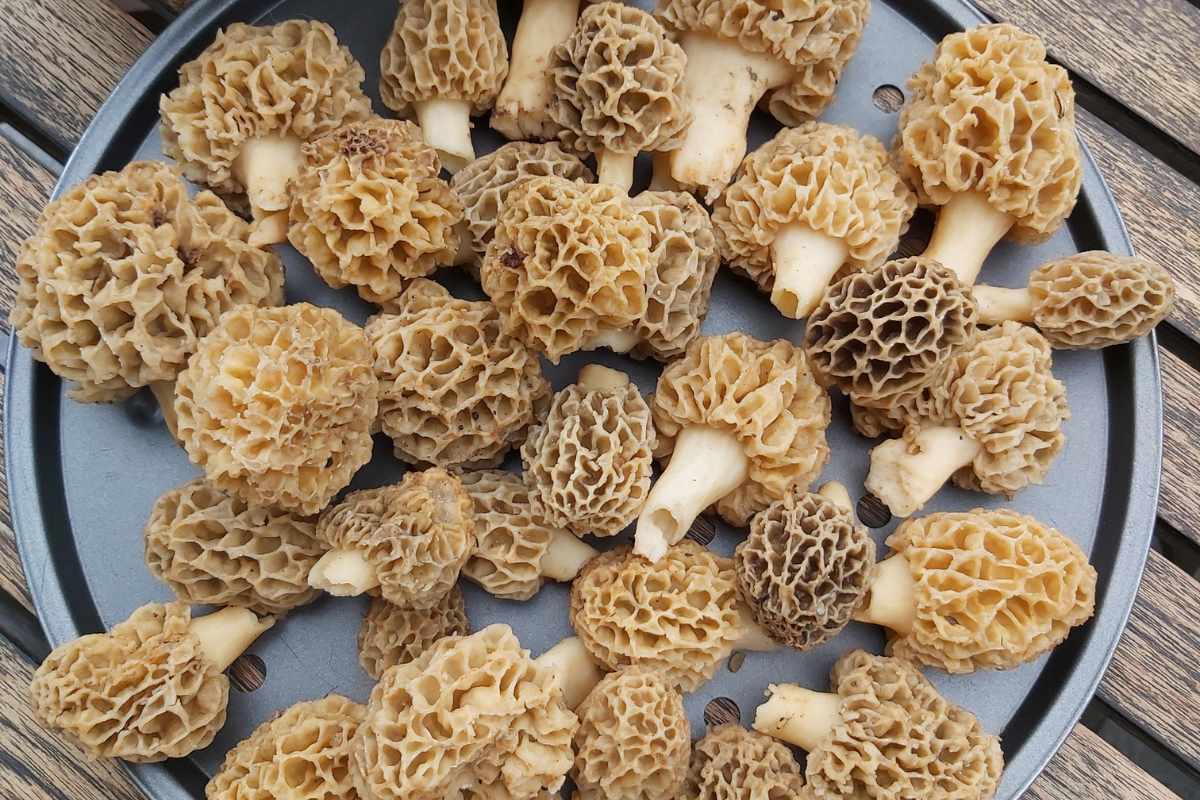
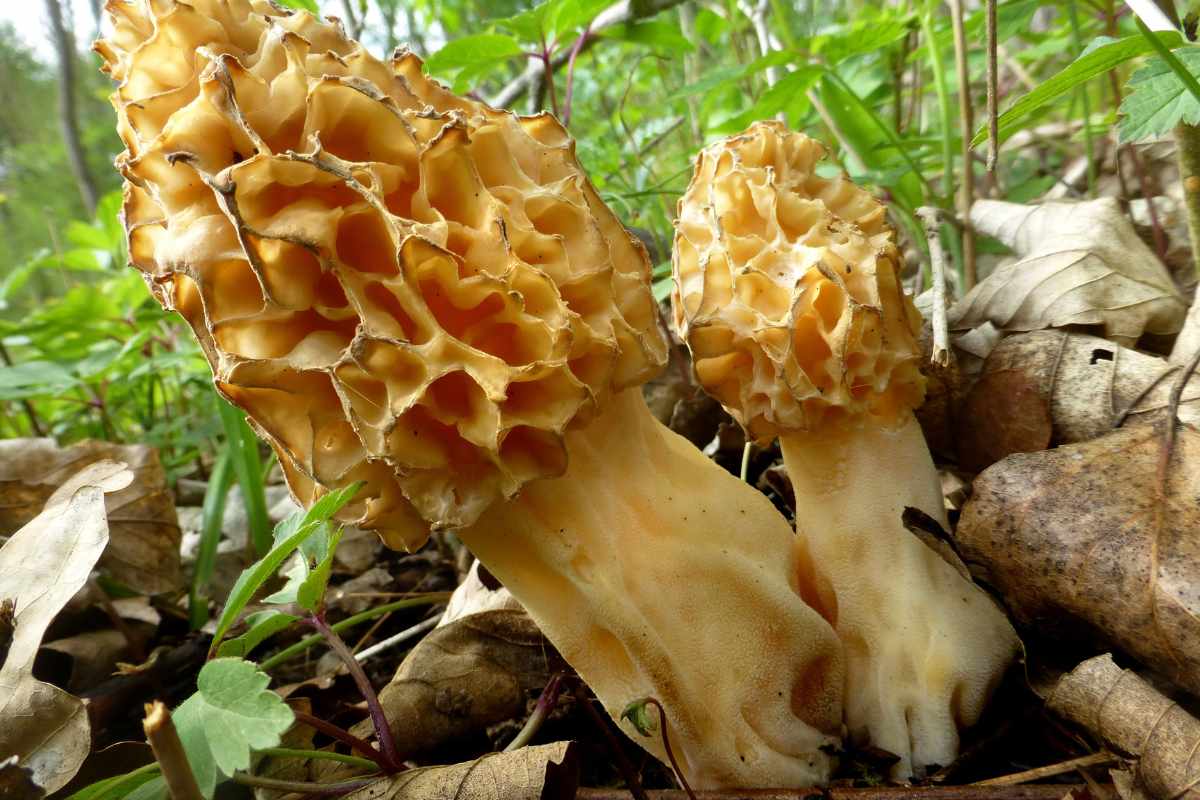
Modern taxonomy organizes North American and European morels into groups that include yellow morels (e.g., M. americana), black morels (e.g., M. angusticeps), and the landscape morel, M. importuna, which is the species most often associated with ornamental wood-chip beds and home cultivation attempts.
You don’t need to memorize the whole tree; just know that names have shifted, and the label on your spawn should specify the species.
For garden projects, M. importuna is the most practical choice.
Harvest, Handling, and Storage
When caps appear, resist the urge to pull.
Use a clean knife to cut flush with the substrate; pulling can disturb primordia nearby. A breathable basket or mesh bag is ideal—stifling plastic sweats and turns delicate ridges mushy.
Brush off debris in the garden to leave soil behind.
At home, a quick rinse is fine if you drain and pat dry immediately, but many foragers prefer a soft brush and a brief pass with a damp cloth to preserve texture.
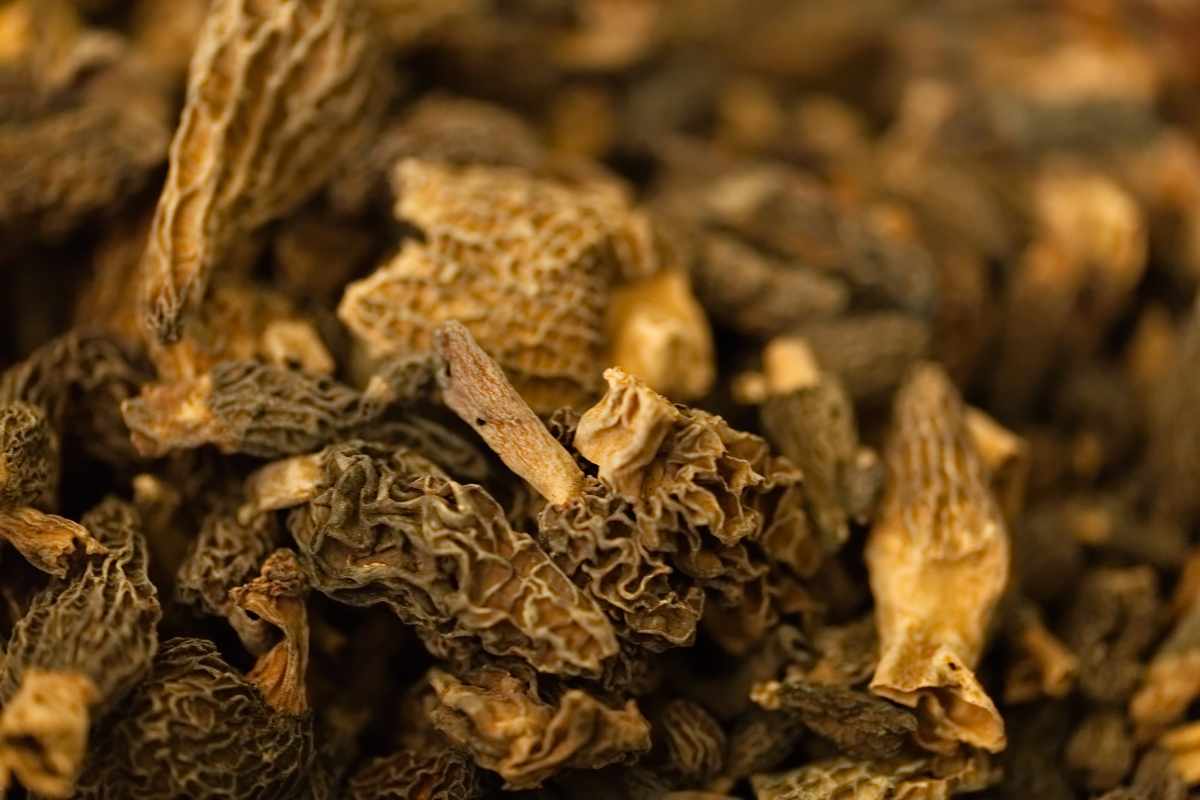
Always cook morels; their flavors deepen and their compounds mellow with heat. For storage, refrigerate in a paper bag for up to a few days, or dehydrate until crisp and store airtight.
Dried morels rehydrate beautifully—save the soaking liquid to enrich sauces and stocks.
Safety First: Look-alikes and Cooking
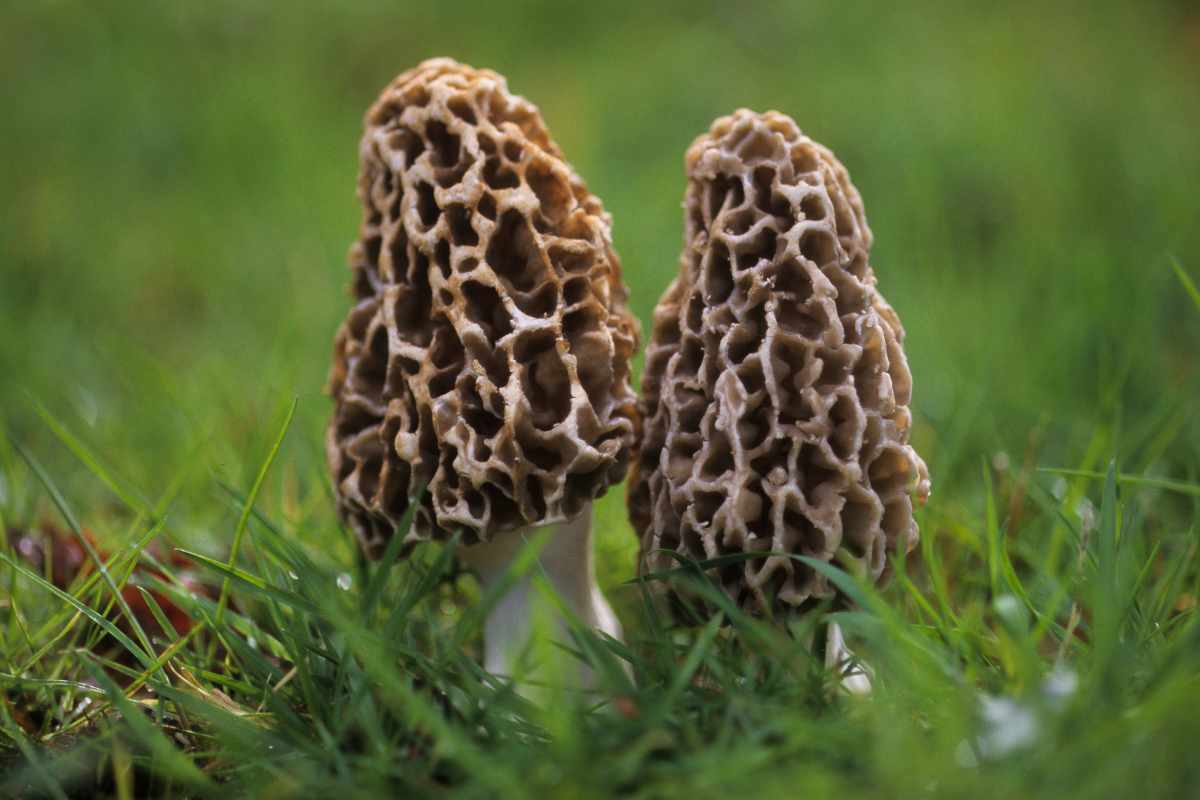
True morels are hollow from tip to base when sliced lengthwise, and the cap is typically attached to the stem along its lower edge.
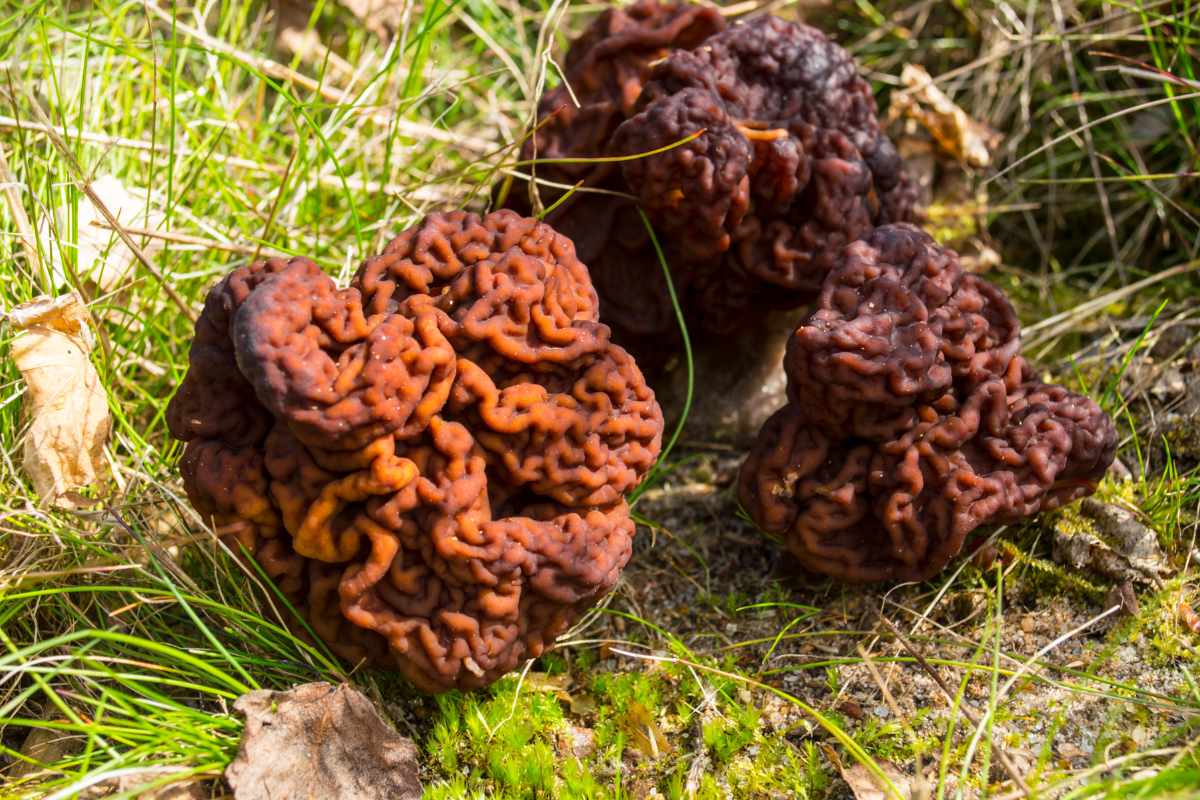
False morels—various Gyromitra and relatives—often have cottony or chambered interiors and differently attached or lobed caps.
The big reason this matters: false morels are toxic due to compounds like gyromitrin.
If you are unsure, do not eat it. Cross-check with local experts, clubs, or extension resources, and cook verified true morels thoroughly.
Children, pregnant people, and those with specific medical conditions should be extra cautious and consult appropriate guidance.
Troubleshooting (Short, Practical)
If you see promising knots that wither, think microclimate. Heat spikes, dry winds, and direct sun are common culprits; add shade and restore steady moisture with gentle, frequent misting.
If you get lush green molds, your bed is staying too wet or too stagnant—improve drainage and airflow, and water less but more frequently.
Slugs love morels; a copper barrier or handpicking at dusk helps.
Rodents may dig up nutrient pockets; move to smaller, deeper pockets, or add a layer of wire mesh beneath the top chips.
After two non-productive springs, don’t be afraid to start a second bed in a slightly cooler, shadier corner and let the original rest.
Did you find this post useful or inspiring? Save THIS PIN to your Gardening Board on Pinterest!😊

Once again, thank you for visiting our website!
We hope you've enjoyed exploring the content we've created for you.
Give yourself the chance to learn, get inspired, and have even more fun, keep browsing...
More Gardening Tips 👇🏼👇🏼