
Propagate your Thyme Successfully


Learning how to propagate thyme is one of the most rewarding and cost-effective ways to expand your herb garden.
Whether you love its fragrant leaves for cooking or simply enjoy growing herbs, thyme propagation is an easy process that even beginners can master.
Propagating thyme allows you to create multiple healthy plants from one mother plant.
With just a few cuttings and the right care, you’ll have thriving new plants ready to enhance your dishes and brighten your garden beds.
What You’ll Need
Clean scissors or pruning shears
Small pots with drainage holes
A light, well-draining potting mix (a mix of soil, perlite, and sand works well)
A clear plastic bag or humidity dome (optional)
Water
Rooting hormone (optional, but helpful for faster rooting)
Method 1: Propagating Thyme from Cuttings in Soil

Step-by-step guide
Choose a healthy thyme plant with strong, green stems.
Cut several 4–6 inch stem tips, selecting young, non-flowering shoots.
Strip the leaves from the bottom third of each cutting to prevent rot.
Dip the cut end into rooting hormone if desired.
Insert the cutting into moist, well-draining soil. Press gently so it stands upright.
Place the pot in a warm, bright area with indirect light. Avoid harsh sun.
Keep the soil lightly moist, not soggy. Overwatering can cause root rot.
In about 3 to 6 weeks, you should notice new growth — a sign that roots have developed.
Once the roots are well established, transplant your new thyme plant into a larger container or directly into the garden.
Method 2: Propagating Thyme in Water
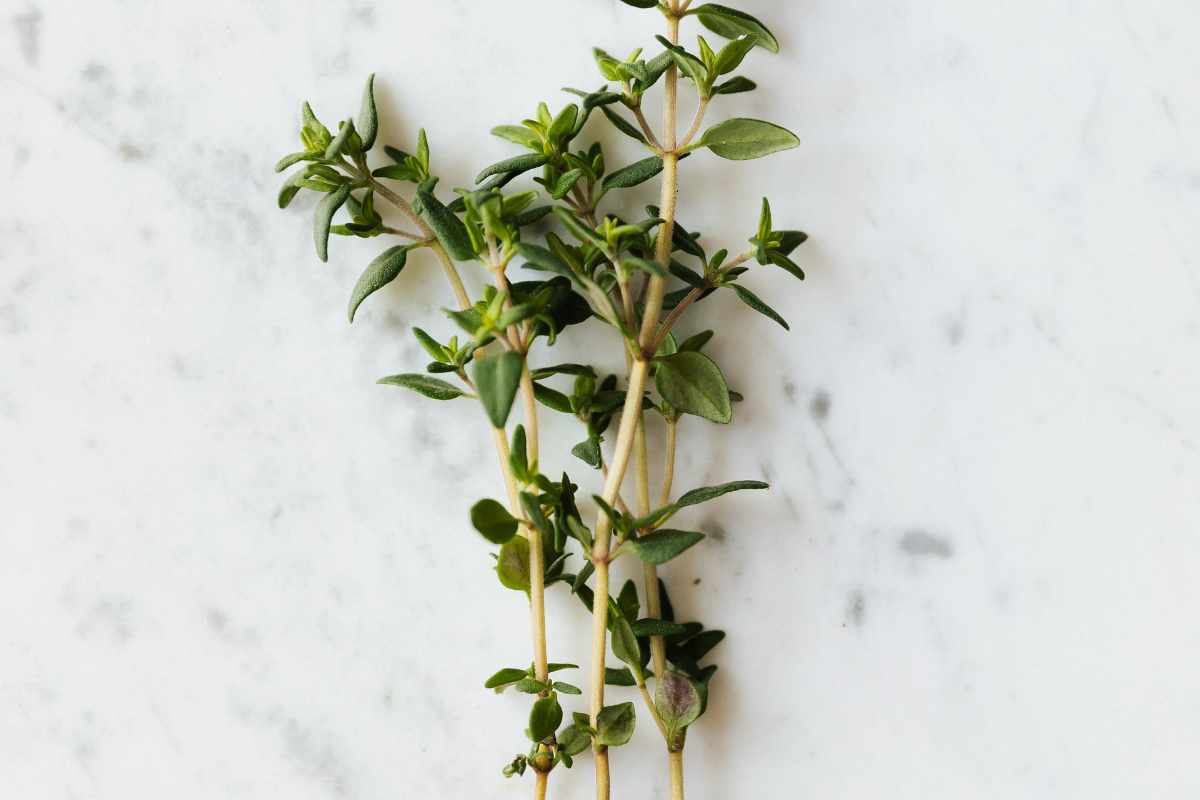
This method lets you watch the roots grow before transplanting.
Take cuttings the same way as before, removing the lower leaves.
Place the stems in a glass of clean water, making sure no leaves touch the water.
Keep the glass in a warm spot with indirect sunlight.
Change the water every few days to keep it fresh.
When the roots reach about 1 inch long, gently transfer the cuttings to the soil.
Tip: After planting, keep the soil slightly moist for the first week while the roots adjust to their new environment.
Method 3: Dividing an Established Plant

If your thyme plant has become woody or overgrown, division is the quickest way to propagate.
Carefully remove the plant from its pot or dig it out of the ground.
Gently separate the root ball into smaller sections, ensuring each division has roots and stems attached.
Replant each section in fresh soil and water lightly.
Keep the new divisions in a bright location and maintain moderate moisture until they reestablish.
This method works best in spring or early fall, when the plant is actively growing but not stressed by heat.
Caring for Your New Thyme Plants
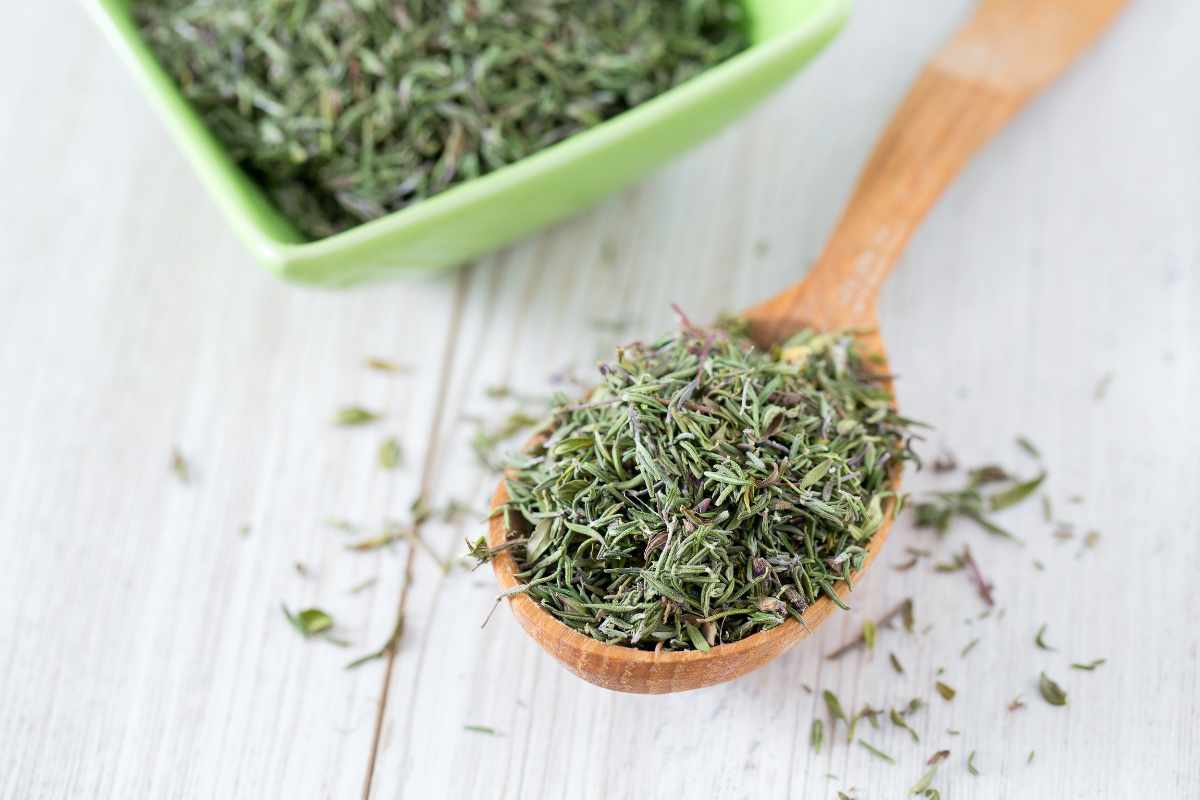
After propagation, proper care ensures strong, flavorful growth:
Place the plants where they’ll receive at least 6 hours of sunlight each day.
Water only when the top inch of soil feels dry. Thyme prefers slightly dry conditions.
Avoid over-fertilizing; too many nutrients can reduce its aromatic oils.
Prune regularly to encourage bushy, compact growth.
Once your new plants are established, they’ll thrive with minimal attention and reward you with fresh herbs for years to come.
Troubleshooting Common Issues
- No roots forming: The environment might be too cold or too dark. Move to a warmer, brighter spot.
- Yellow or drooping leaves: Usually a sign of overwatering. Let the soil dry out before watering again.
- Wilting cuttings: Low humidity or too much sun can stress new cuttings. Provide light shade and consistent moisture.
- Mold or rot: Improve airflow and ensure the soil drains well.
Best Time to Propagate Thyme
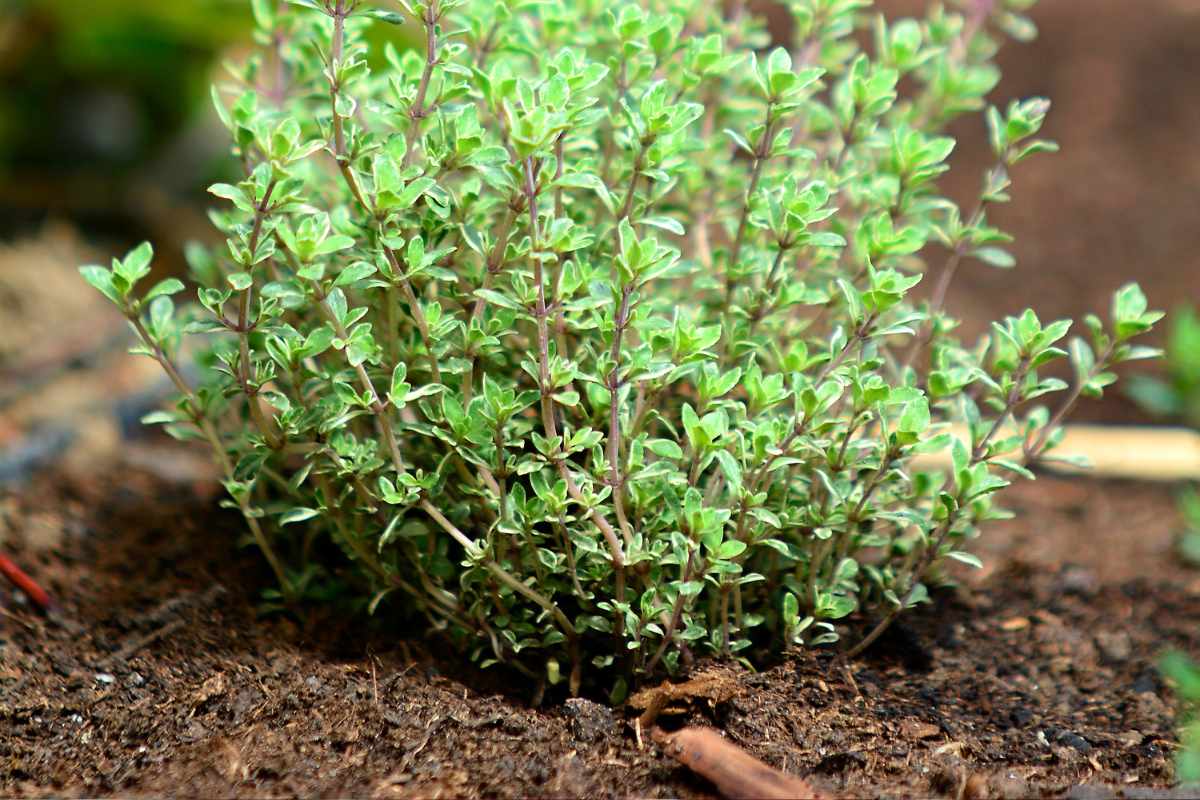
The ideal time to propagate thyme is late spring through summer, when the plant is in full growth and conditions are warm.
Avoid taking cuttings during winter or flowering periods, as rooting will be slower and less reliable.
Final Thoughts
Propagating thyme is simple, satisfying, and cost-effective.
With just a few tools and some patience, you can transform one plant into many.
Whether you prefer rooting in soil, water, or dividing mature plants, each method offers an easy way to expand your herb garden.
Soon, you’ll have a steady supply of this fragrant, versatile herb — perfect for cooking, decoration, and filling your garden with its unmistakable aroma.
Enjoy This Video Tutorial

Source: Epic Gardening
Don’t forget to Subscribe to our Newsletter to receive amazing tips and tricks about Gardening and the FREE Ebook Green Living Strategies!
Did you find this post Useful or Inspiring? Save THIS PIN to your GARDENING Board on Pinterest! 😊

Once again, thank you for visiting our website!
We hope you've enjoyed exploring the content we've created for you.
Give yourself the chance to learn, get inspired, and have even more fun, keep browsing...
More Gardening Tips 👇🏼👇🏼