The Best Repotting Method, Hands-Down!

Repotting is one of the most important steps in keeping your plants thriving.
Over time, soil loses nutrients, roots become crowded, and growth can slow down. Knowing when and how to repot can make the difference between a struggling plant and a flourishing one.
This guide will walk you through the signs your plant needs repotting, the best method to do it, and how to care for your plant afterward.
When to Repot Your Plants
Not all plants need to be repotted frequently, but there are clear signs to watch for:
Roots growing out of drainage holes or circling the top of the soil.
Soil is drying out too quickly, even after watering.
Stunted growth or yellowing leaves despite regular care.
A plant that feels top-heavy and unstable in its pot.
If you notice any of these, it’s time to give your plant a new home.

Plants That Like Being Root Bound
Some species actually prefer a snug fit and shouldn’t be repotted too often.
Peace lilies, spider plants, and orchids can bloom better when slightly root-bound.
In contrast, fast-growing tropicals, ferns, and vegetables often need more frequent repotting.
Knowing your plant type helps you avoid unnecessary stress.
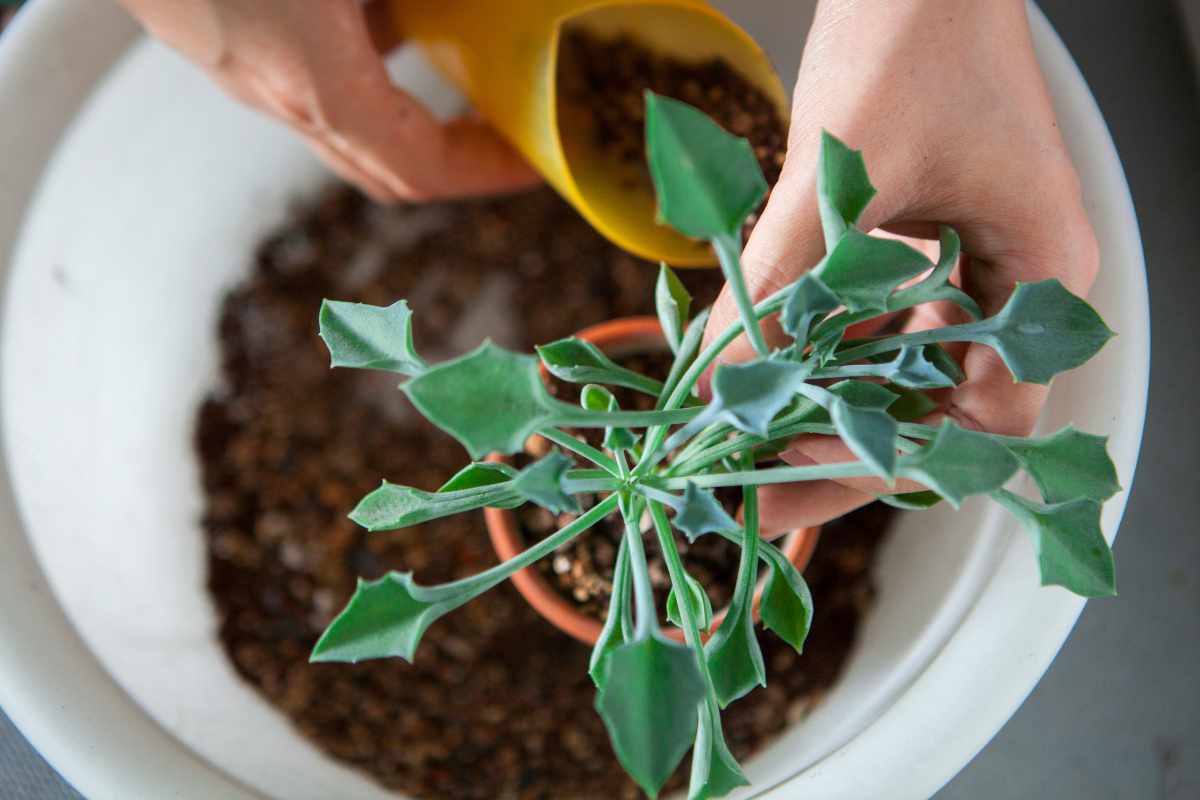
Choosing the Right Pot and Soil
A successful repotting starts with the right materials.
Pot size: Choose a container only 1–2 inches larger in diameter than the current one. Going too big can lead to waterlogged soil.
Material: Terracotta allows better airflow, while plastic retains moisture longer. Pick according to your plant’s needs.
Soil mix: Use a fresh, well-draining soil blend that matches the plant type. For example, succulents thrive in gritty soil, while ferns prefer more organic matter.
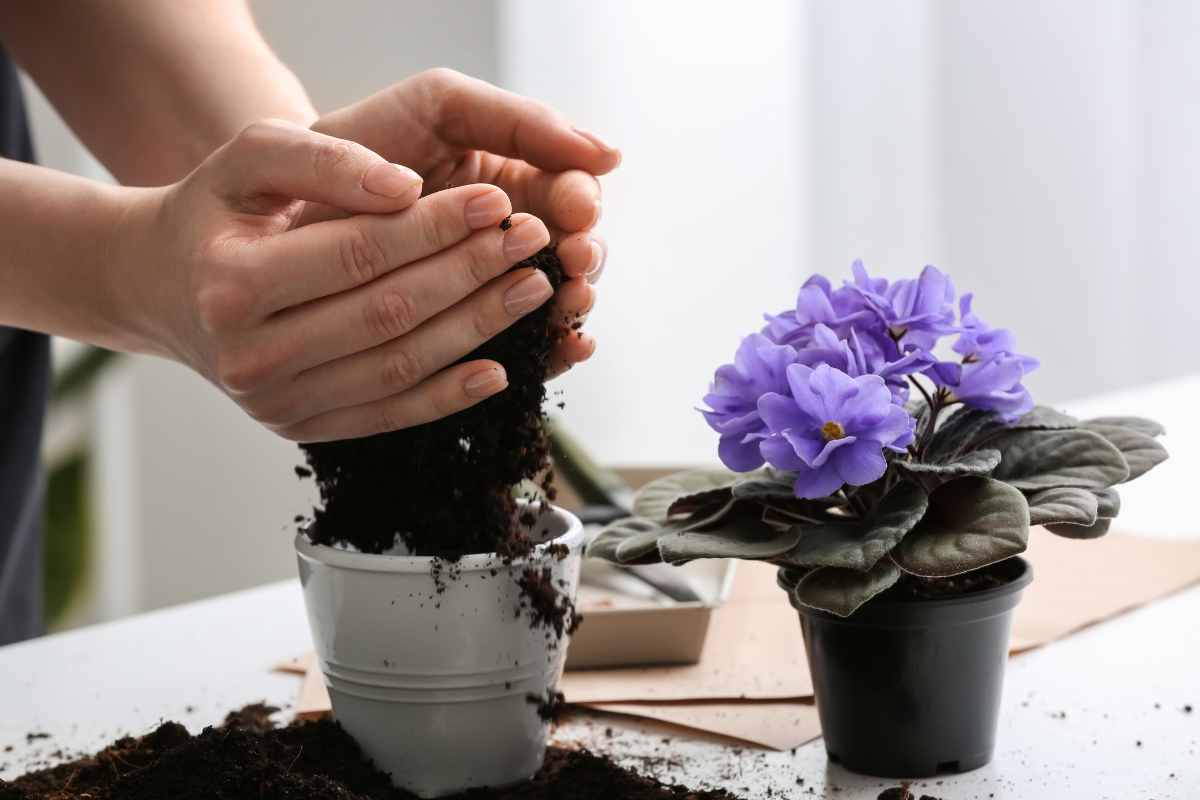
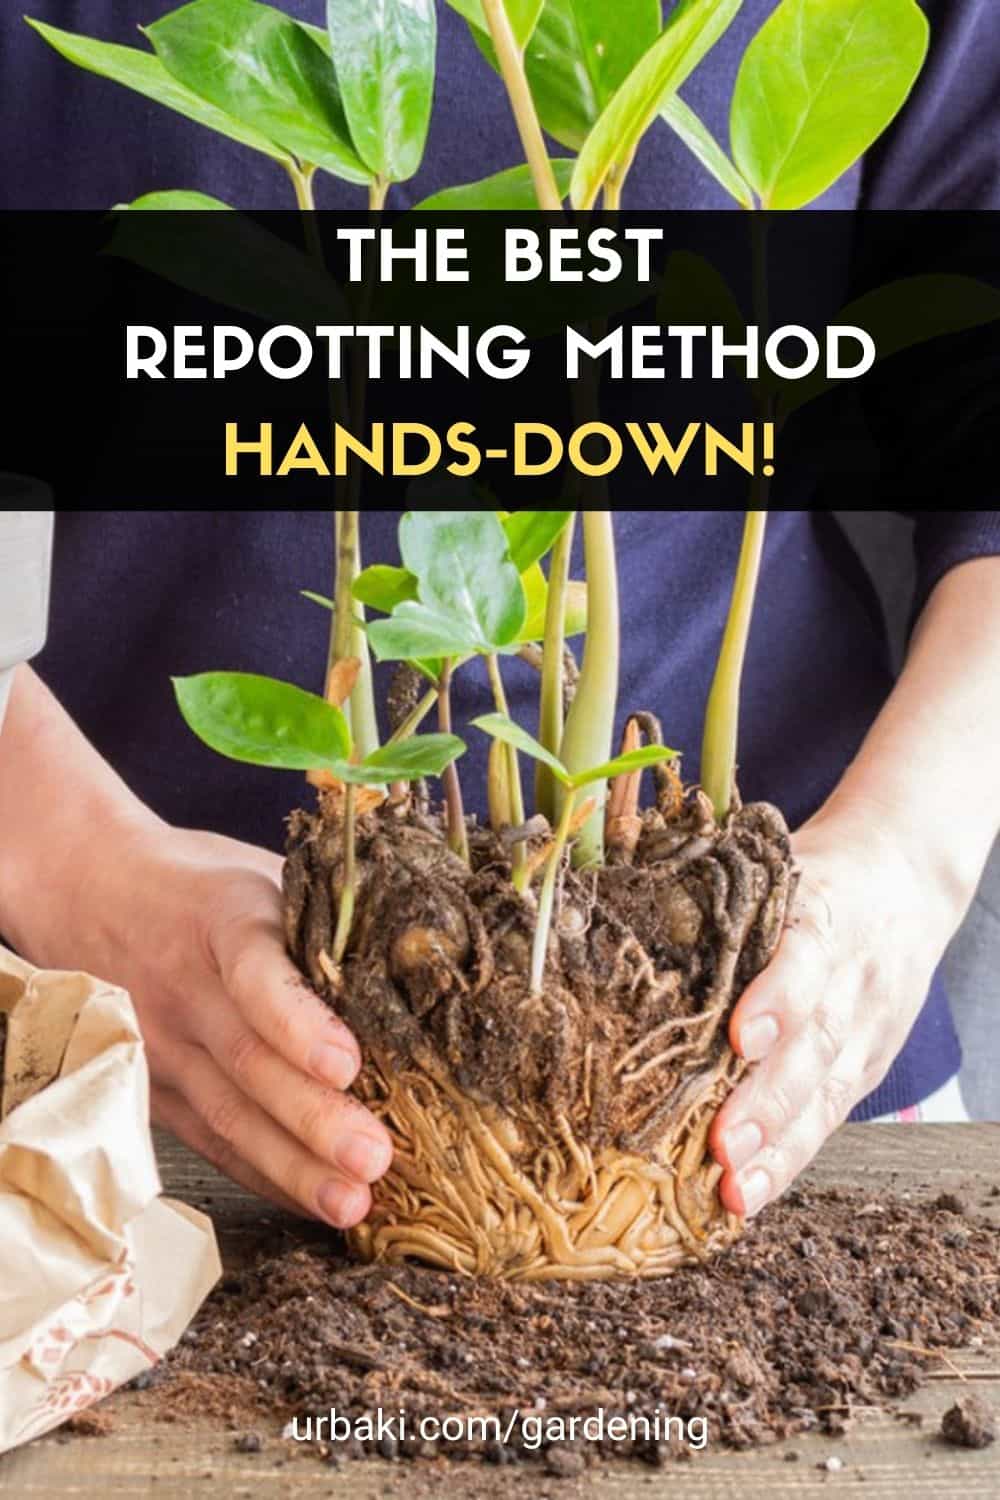
Step-by-Step Repotting Method
1. Prepare Your Plant
Water your plant lightly a day before repotting to soften the root ball.
Gather tools like gloves, pruning shears, and fresh soil.
2. Remove and Inspect
Gently slide the plant out of its pot. If stuck, tap the sides or squeeze flexible containers.
Inspect the roots – trim off dead, mushy, or circling roots.
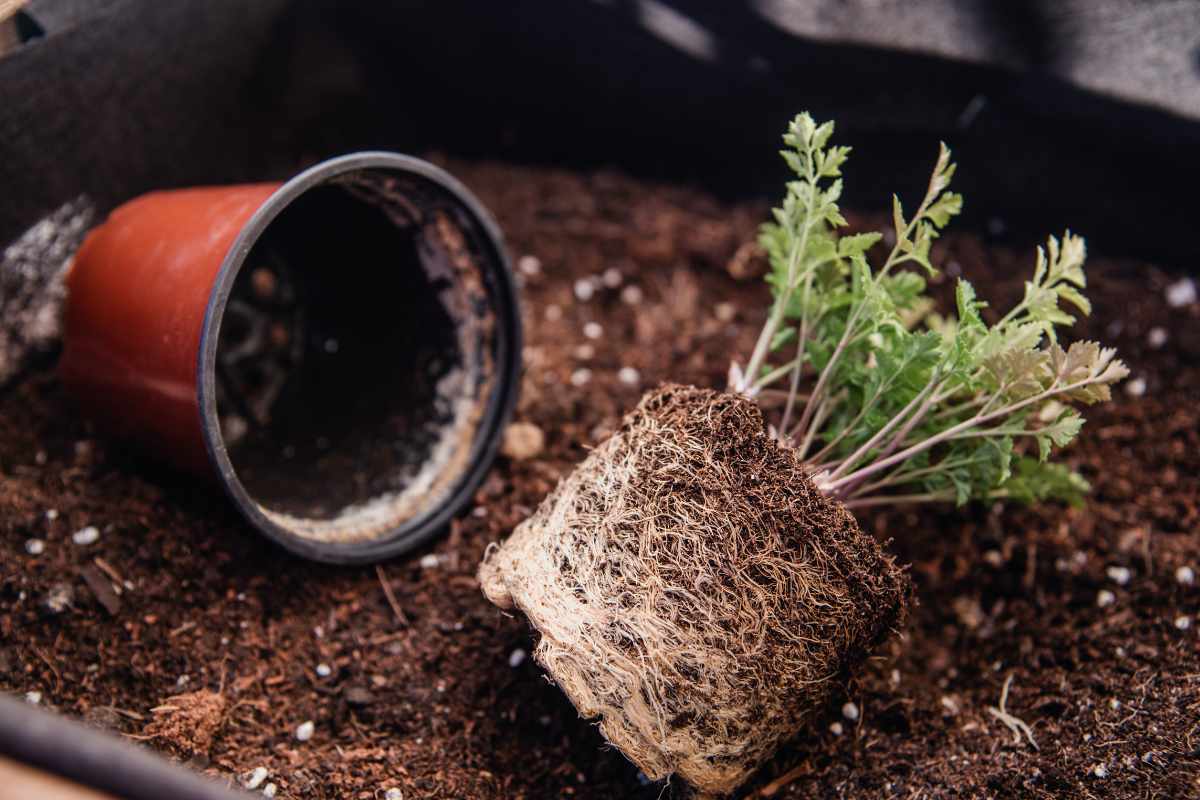
3. Loosen and Replant
Loosen compact roots with your fingers.
Place the plant in the new pot, add soil around it, and press gently to remove air pockets.
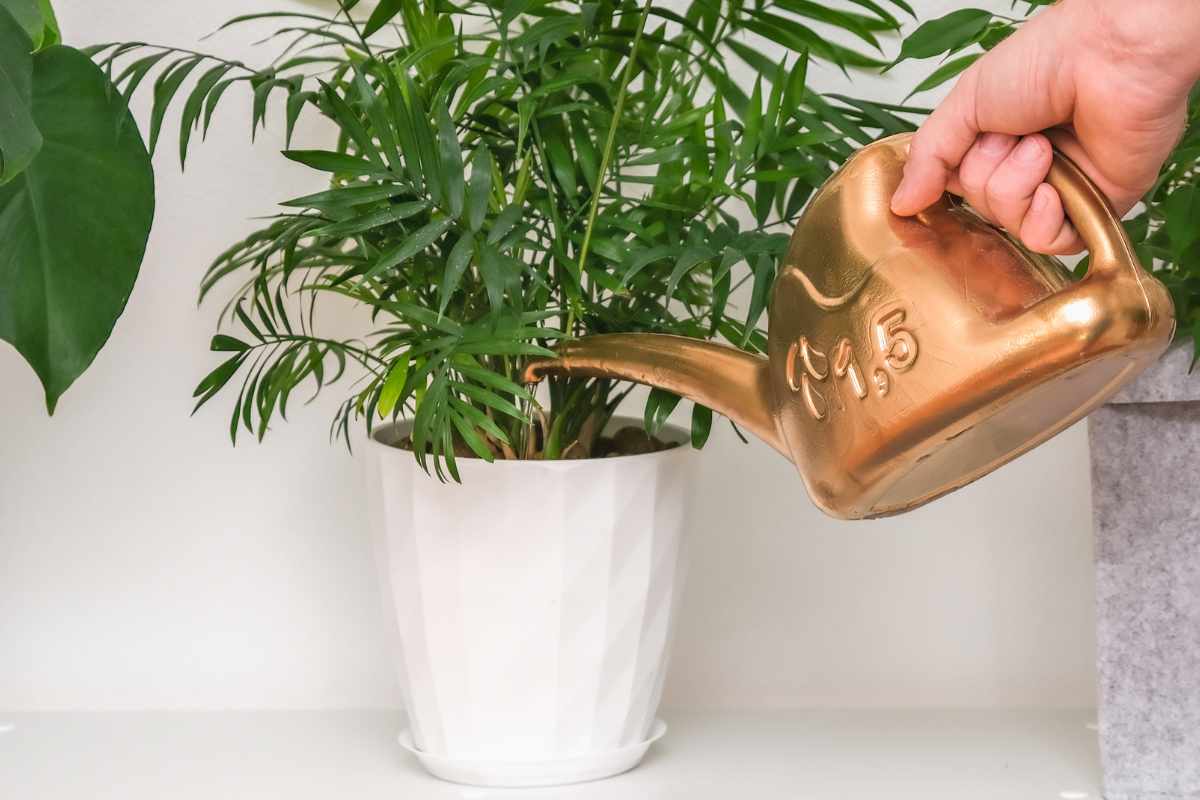
4. Water and Settle
Water thoroughly until excess drains out.
This helps the soil settle and encourages the roots to adjust quickly.

Special Cases: Cuttings and Small Plants
For small plants or cuttings, the method is similar but requires extra care.
Always use a smaller pot to avoid excessive soil moisture.
Place the cutting in moist, well-aerated soil and avoid direct sun until it establishes roots.
Aftercare: Helping Plants Recover
Repotting can be stressful for plants, so proper aftercare is essential:
Keep in moderate light for a week to reduce shock.
Water carefully – avoid overwatering while roots adjust.
Do not fertilize immediately; wait at least 4–6 weeks before feeding.
Monitor leaves for wilting or yellowing as the plant acclimates.

Common Mistakes to Avoid
Many new gardeners make errors that can set plants back. Be mindful to avoid:
Using a pot that’s too large.
Repotting during the flowering season (unless necessary).
Compacting soil too tightly which restricts airflow.
Forgetting to check for pests before moving plants.
Final Thoughts on Repotting
Repotting doesn’t have to be intimidating. With the right method, soil, and aftercare, your plants can experience renewed growth and vitality.
Remember, every plant is different – some love a little root pressure, while others thrive with more space.
By paying attention to the signs and following these steps, you’ll create an environment where your plants can truly flourish.
Enjoy The Video Tutorial

Source: Washington Post
Did you find this post Useful or Inspiring? Save THIS PIN to your GARDENING Board on Pinterest! 😊

More Gardening Tips 👇🏼👇🏼