
Learn How to Save Vegetable Seeds for The Next Season


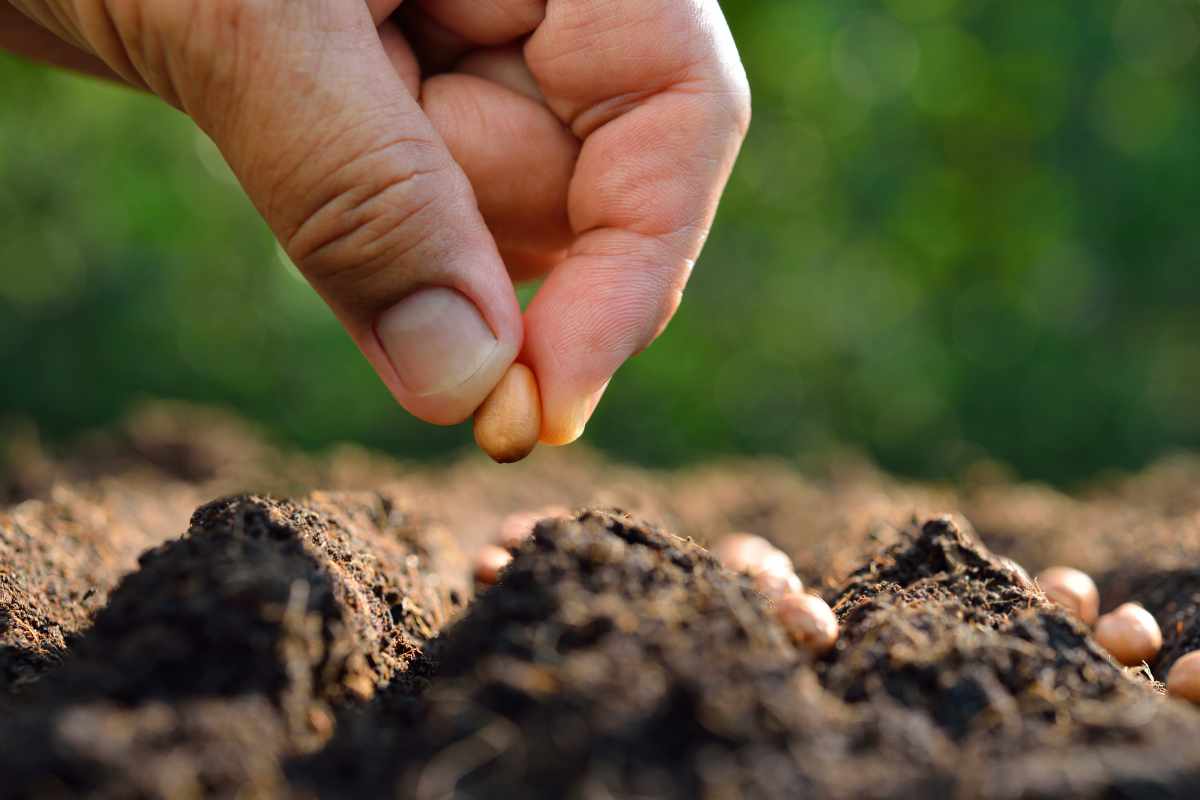
Saving vegetable seeds from your garden is one of the most rewarding ways to make your gardening more sustainable.
Not only does it help you save money, but it also lets you preserve your favorite plant varieties for years to come.
Whether you’re a beginner or an experienced gardener, learning how to save seeds can transform the way you grow your food.
Choosing the Right Plants for Seed Saving
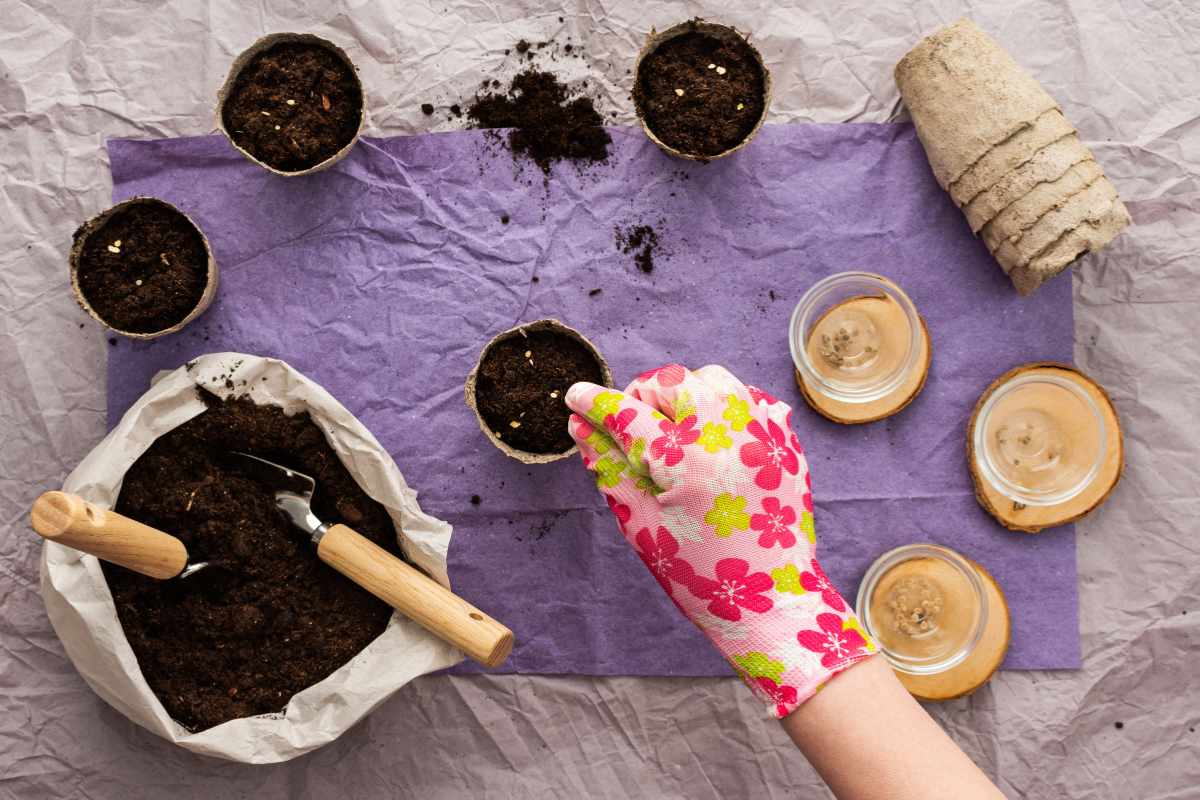
Not all vegetables are equally easy to save seeds from. Start with open-pollinated or heirloom varieties, since these produce offspring true to the parent plant.
Avoid hybrid varieties (marked as F1), as their seeds usually don’t reproduce the same quality or yield.
Some of the easiest vegetables for beginners include:
Tomatoes – self-pollinating and easy to dry.
Peppers – seeds dry quickly and store well.
Beans and peas – simple to harvest once the pods dry on the plant.
Lettuce and spinach – seeds are small but germinate readily.
If you’re feeling confident later, you can try more complex plants like cucumbers, melons, or squash, which require more careful pollination control.
How to Save Vegetable Seeds Step by Step
1. Select the Best Plants
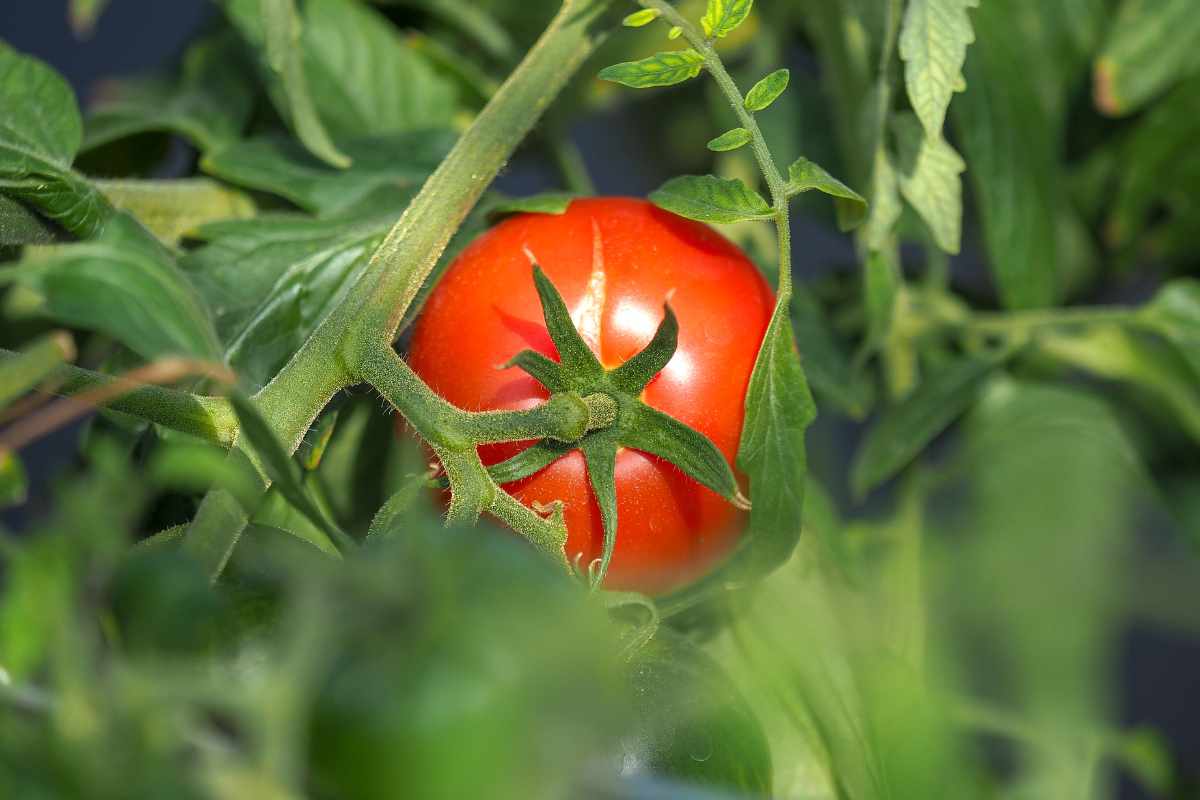
Choose strong, healthy plants with desirable traits — good flavor, disease resistance, and productivity.
Avoid saving seeds from weak or damaged plants.
2. Let Seeds Fully Mature
Seeds need to ripen completely before harvesting.
For fruits like tomatoes or peppers, this means letting them stay on the plant until slightly overripe.
For pod vegetables, wait until the pods turn brown and dry.
3. Extract the Seeds
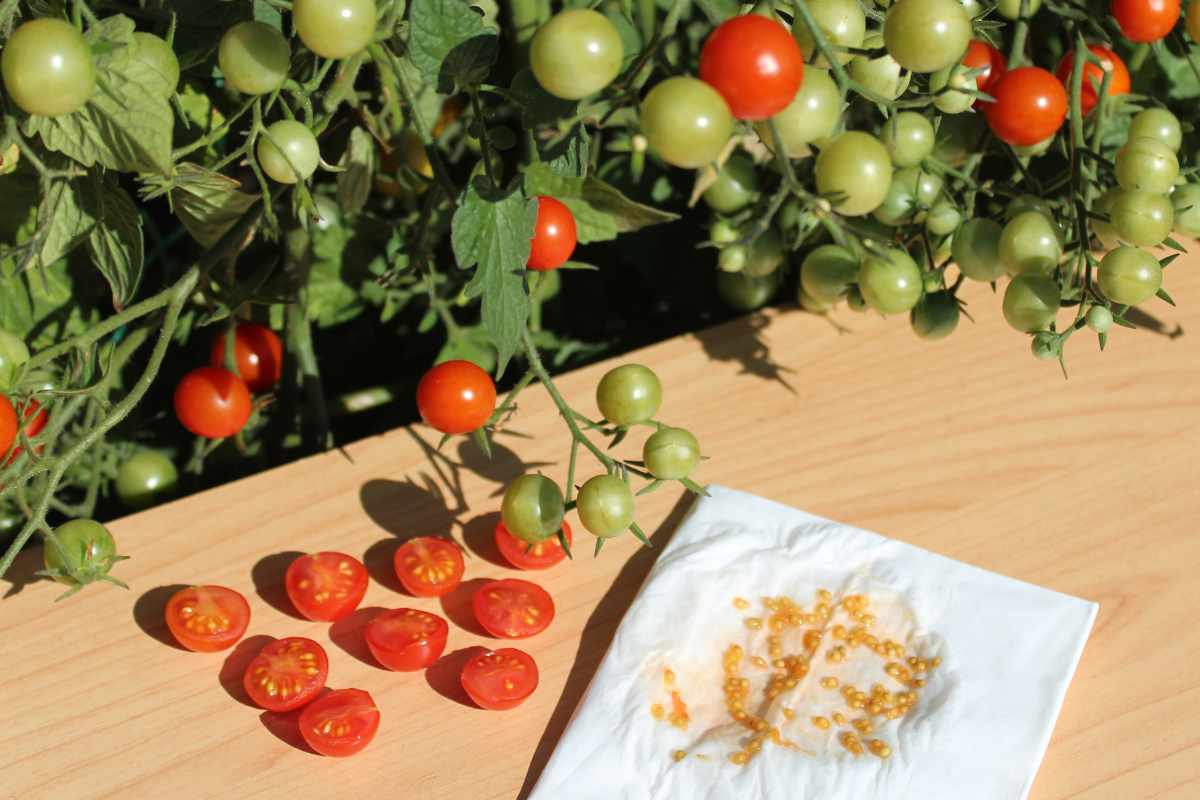
Each vegetable has its own method:
Tomatoes: Scoop out seeds, place them in water for a few days to ferment, then rinse and dry.
Peppers: Simply remove seeds from the inside and lay them on paper to dry.
Beans: Shell them once the pods are crisp and dry.
4. Clean and Dry Properly
After extracting, remove any pulp or plant material.
Spread seeds on a paper towel or mesh screen in a warm, well-ventilated area for at least one to two weeks. Make sure they are completely dry before storing to prevent mold.
5. Store in a Cool, Dry Place
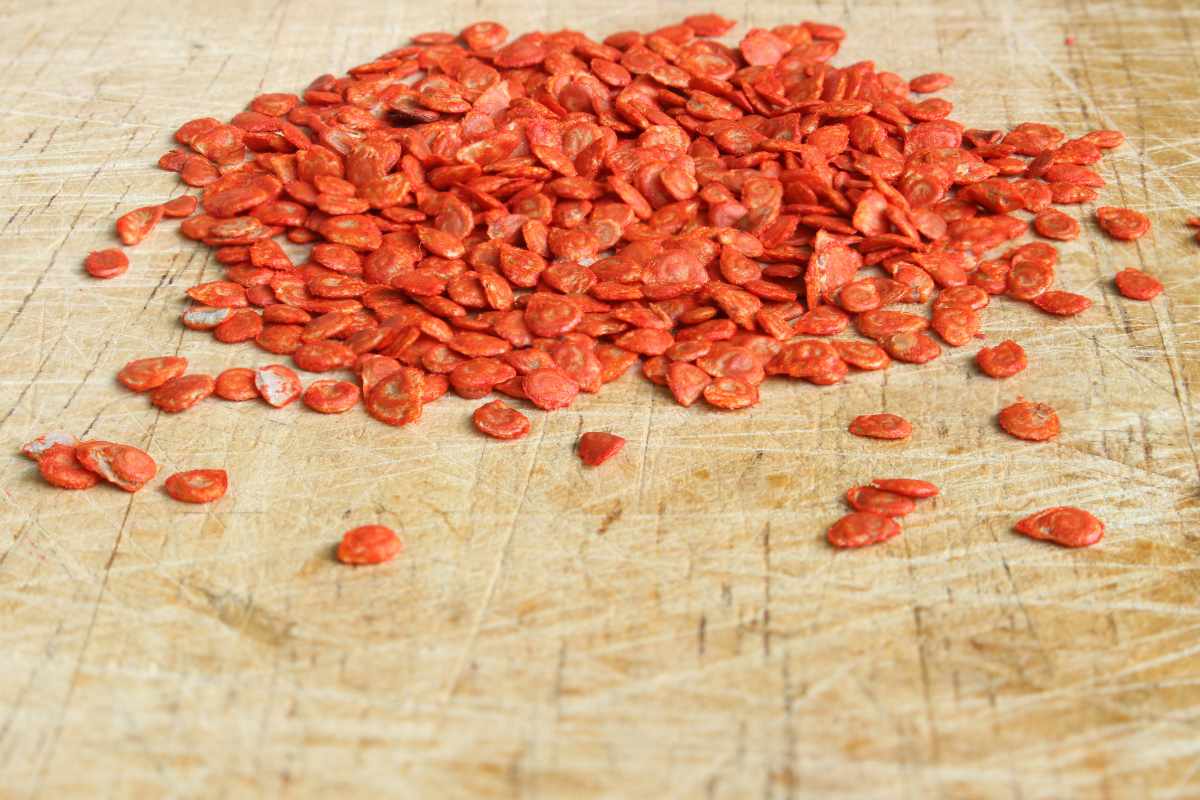
Place dry seeds in labeled paper envelopes or glass jars with tight lids.
Store them in a cool, dark spot — ideally around 40°F (4°C). For longer storage, you can refrigerate them in an airtight container with silica gel packets.
Common Mistakes to Avoid
Saving hybrid seeds: They won’t grow true to type.
Storing seeds before they’re fully dry: This leads to mold or rot.
Skipping labels: Always include the plant name and harvest date.
Exposing seeds to heat or humidity: Both reduce germination rates.
These small details make a big difference when you’re preparing for the next planting season.
Testing Seed Viability
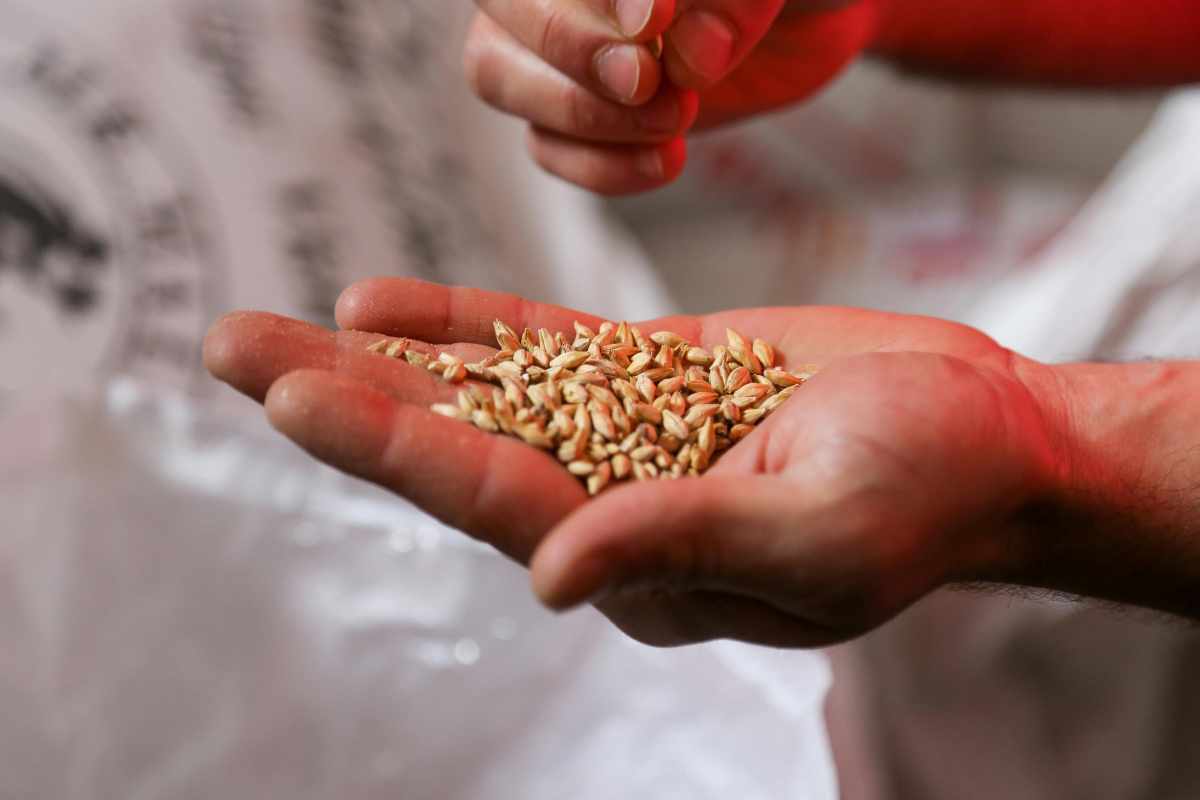
Before sowing next year, check how viable your stored seeds are.
Simply place ten seeds on a damp paper towel, fold it, and keep it warm for a few days. If most sprout, they’re still good to use.
If fewer than half germinate, it’s better to start fresh with new seeds.
Growing Forward: The Joy of Seed Saving
When we save vegetable seeds for the next season, we’re not just preparing for future harvests — we’re connecting with nature’s cycle more deeply.
Every tiny seed holds the potential for life, flavor, and growth.
So this year, take a little extra time to collect, label, and store your seeds.
You’ll thank yourself when spring arrives and your garden bursts back to life with familiar, homegrown plants.
Enjoy The Video Tutorial

Source: Simplify Gardening
Don’t forget to Subscribe to our Newsletter to receive amazing tips and tricks about Gardening and the FREE Ebook Green Living Strategies!
Did you find this post Useful or Inspiring? Save THIS PIN to your GARDENING Board on Pinterest! 😊

Once again, thank you for visiting our website!
We hope you've enjoyed exploring the content we've created for you.
Give yourself the chance to learn, get inspired, and have even more fun, keep browsing...
More Gardening Tips 👇🏼👇🏼