
Planting Herbs from Seeds [Step by Step]


There’s something incredibly rewarding about planting herbs from seeds. Watching those tiny grains turn into thriving green plants you can use in the kitchen is both magical and practical.
Not only is it cost-effective, but it also allows you to explore unique varieties of basil, parsley, or cilantro that you might not find in a garden center.
Whether you’re working with a sunny windowsill or an outdoor patio, growing herbs from seed is a simple project that fills your home with flavor and greenery.
Step 1: Preparing the Right Start
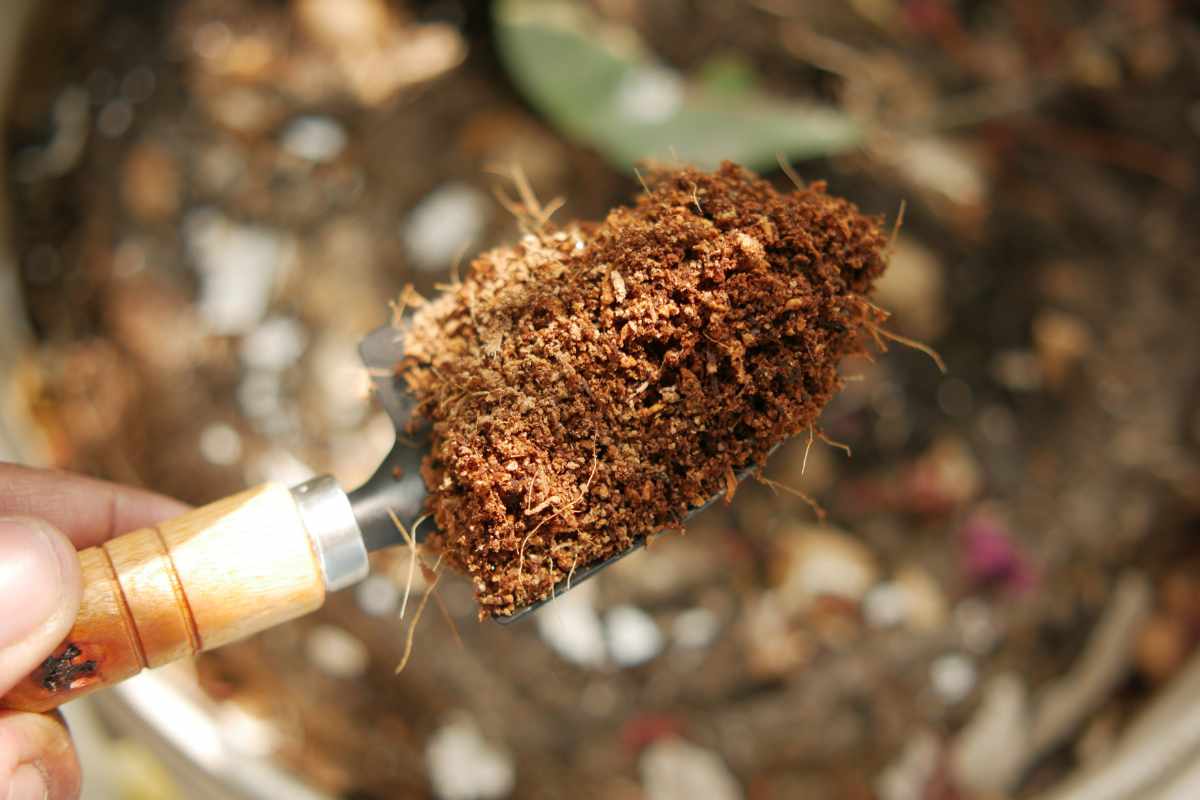
Healthy herbs begin with the right foundation, and that means choosing the proper soil. Herbs dislike sitting in soggy soil, so a well-draining mix is essential. A blend of peat moss or coco coir with perlite creates the perfect balance of moisture retention and airflow.
Think of it as giving your seedlings a soft, breathable bed where their roots can spread easily.
Avoid heavy garden soil, as it tends to compact and suffocate tender seedlings before they have a chance to grow.
When it comes to sowing, less is more. Scatter the seeds evenly across the surface of your pots or trays, then lightly press them into the soil.
Tiny seeds like basil and thyme should barely be covered, while slightly larger seeds such as cilantro can be tucked in a little deeper.
Gentle watering with a spray bottle will help settle them without washing them away.
Step 2: Light, Water, and Early Care
The key to strong seedlings is consistency. Keep the soil evenly moist, but never waterlogged. A quick check with your finger—just pressing the top inch of soil—is a simple way to know when it’s time to water. Herbs also crave sunshine.
Most varieties need about six to eight hours of direct light each day, whether from a bright windowsill or under grow lights if you’re starting indoors.
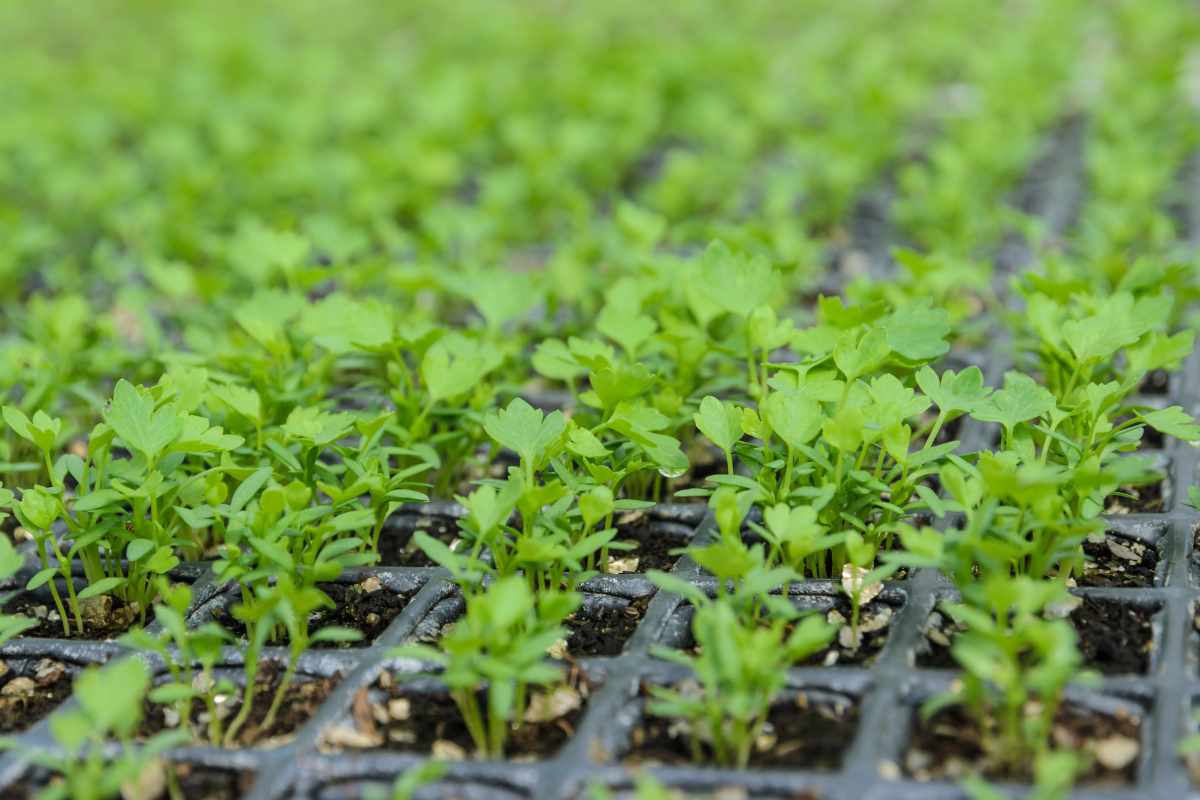
As your seedlings begin to emerge, you’ll notice some growing stronger than others. This is completely normal.
To give the healthiest ones room to thrive, thin out the weaker seedlings by snipping them at the base. It may feel a little harsh, but this step ensures your herb garden doesn’t become overcrowded.
Step 3: Supporting Healthy Growth
Once your seedlings are a few inches tall and sturdy enough, they may need to be transplanted into larger pots. Handle the roots carefully during this stage, as they’re delicate but eager to spread.
Herbs don’t require heavy feeding, but a light application of organic fertilizer every month or so will keep them productive. Stick with a balanced, slow-release formula to provide steady nourishment without overwhelming your plants.
At this point, it’s also important to keep an eye out for pests. Aphids and spider mites are the most common visitors, but you don’t need harsh chemicals to manage them.
Simple organic solutions like neem oil or insecticidal soap usually do the trick, while keeping beneficial insects safe. Regularly removing any yellow or wilted leaves also helps maintain plant health.
Step 4: Harvesting Your Fresh Herbs
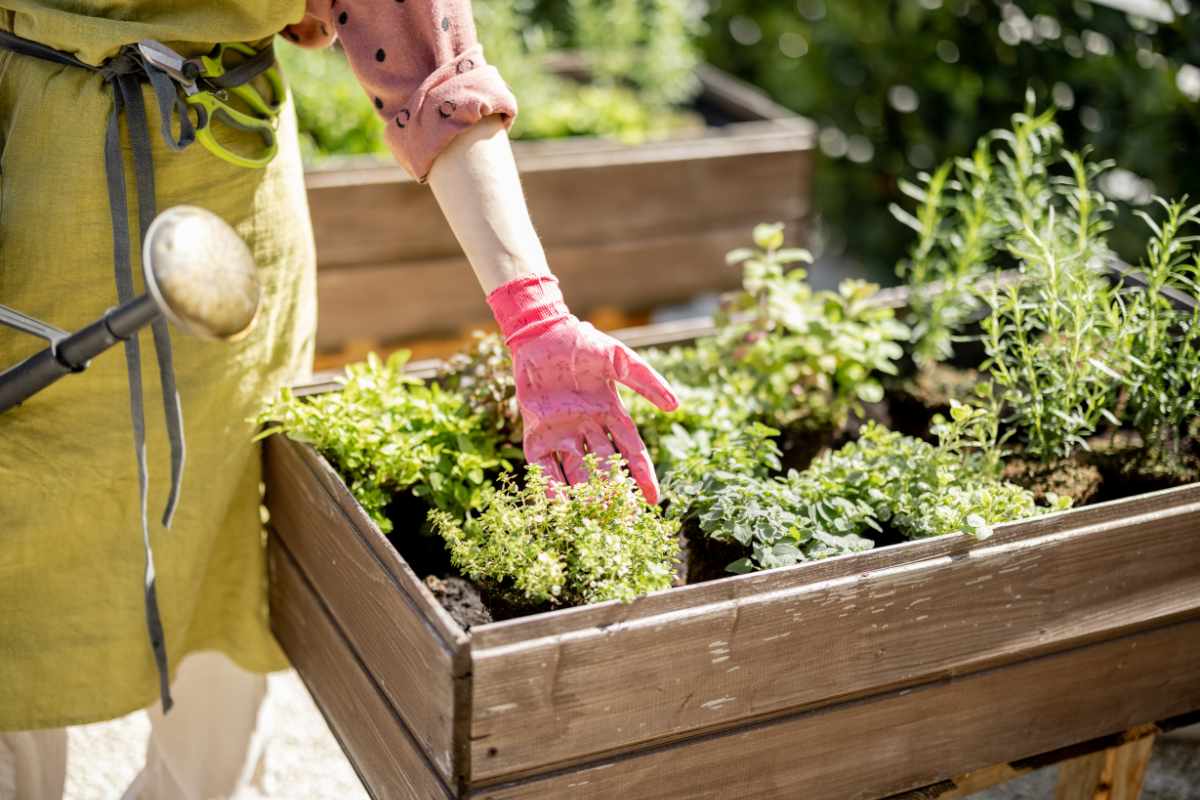
The most exciting part of planting herbs from seeds is harvesting your first batch of leaves. For leafy herbs like basil or mint, pinching the tops encourages bushier plants and a steady supply of new growth.
Woody herbs such as rosemary or thyme respond well to light trimming, which keeps them neat while providing sprigs full of flavor.
Regular harvesting is more than just rewarding—it actually helps your herbs grow stronger.
By snipping a little here and there, you’re signaling to the plant to produce more leaves, giving you a continuous supply of fresh herbs throughout the season.
From Seed to Flavor
With just a little patience and care, planting herbs from seeds can transform even the smallest space into a thriving green corner.
It’s a simple, budget-friendly way to bring life to your home while adding vibrant taste to your cooking.
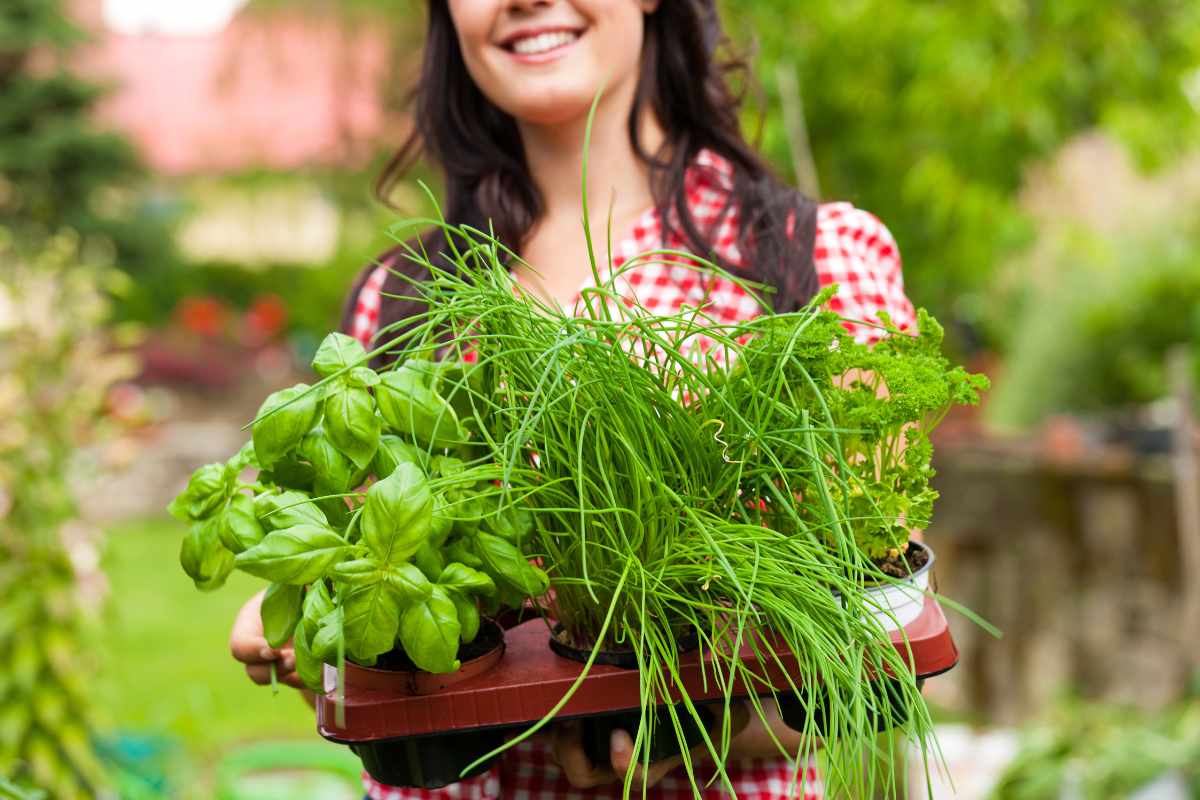
Whether you dream of basil for your pasta, mint for your tea, or rosemary for roasted vegetables, your herb garden will become a source of both beauty and flavor.
Enjoy the Video Tutorial

Source: essortment
Did you find this post useful or inspiring? Save THIS PIN to your Gardening Board on Pinterest!😊

Once again, thank you for visiting our website!
We hope you've enjoyed exploring the content we've created for you.
Give yourself the chance to learn, get inspired, and have even more fun, keep browsing...
More Gardening Tips 👇🏼👇🏼